How to Use WeMo Maker as a Garage Door Opener in Conjuction with Amazon Echo.
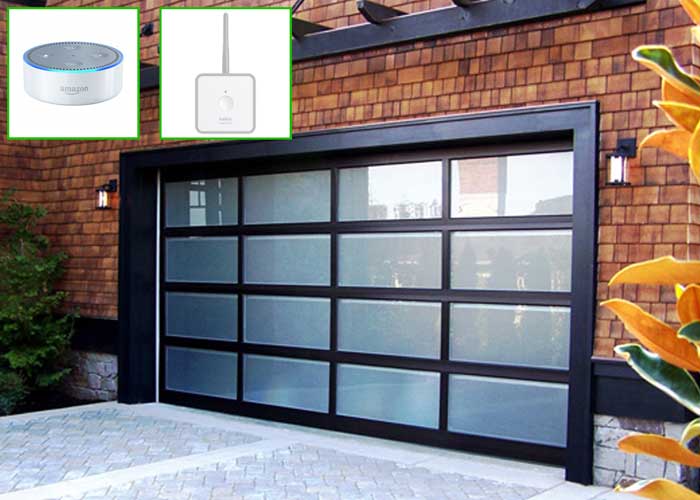
Hardware Items Needed:
I purchased all of these on Amazon.com for around $130
(The images below link to their respective Amazon listing)

Tools Needed:


Software Neded:
![]()

![]()
![]()
DISCLAIMER: I make no guarantees about my documentation below. Try at you own risk. I’m not responsible for any damage you may do.
1
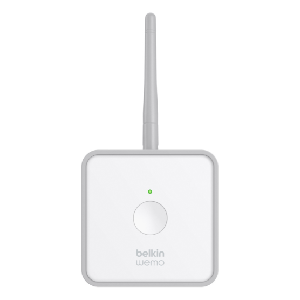
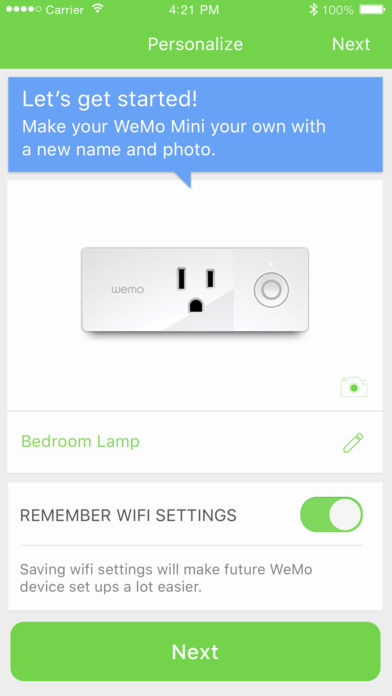
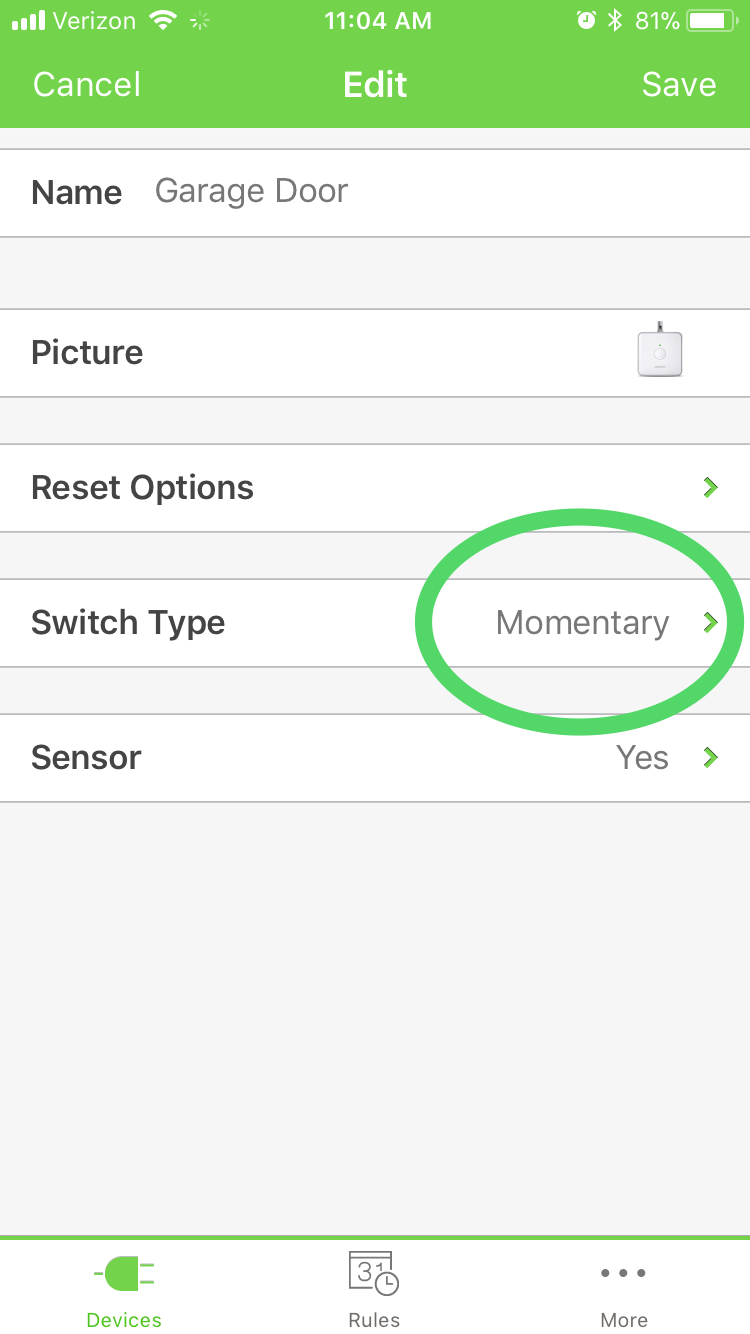
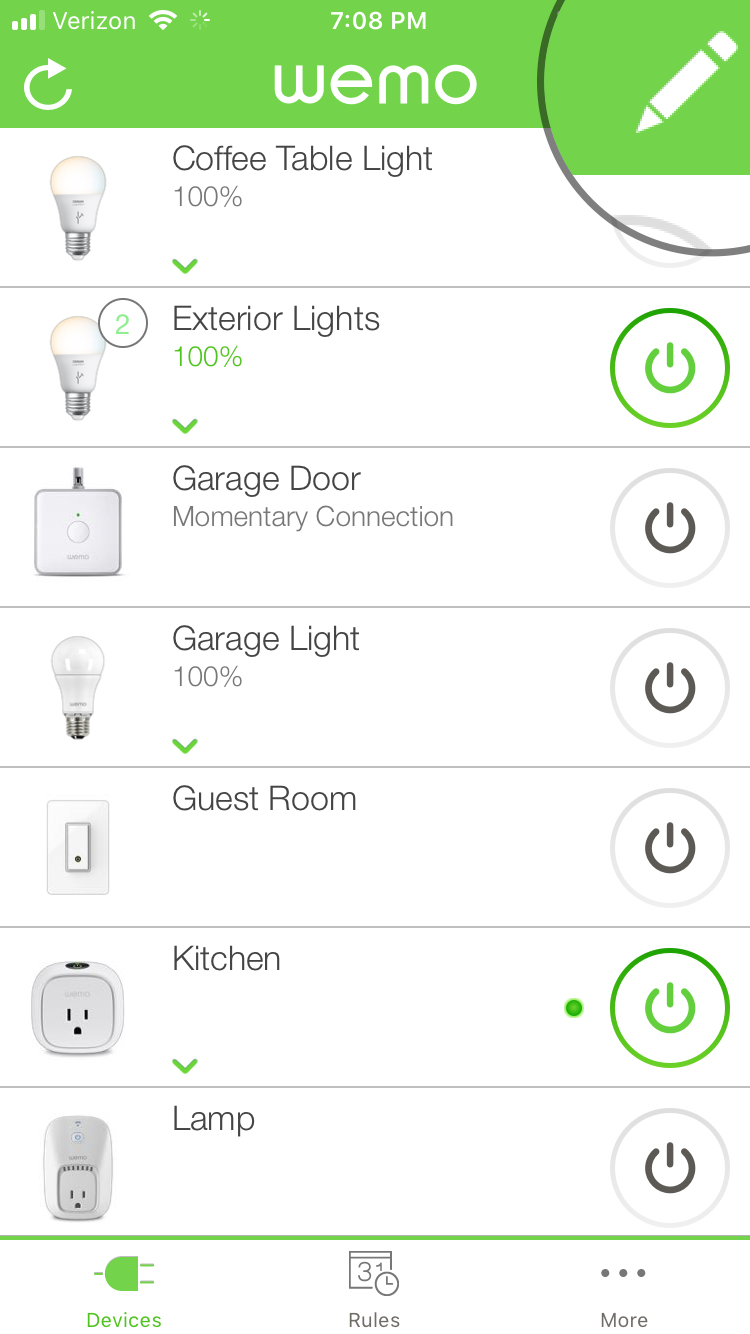
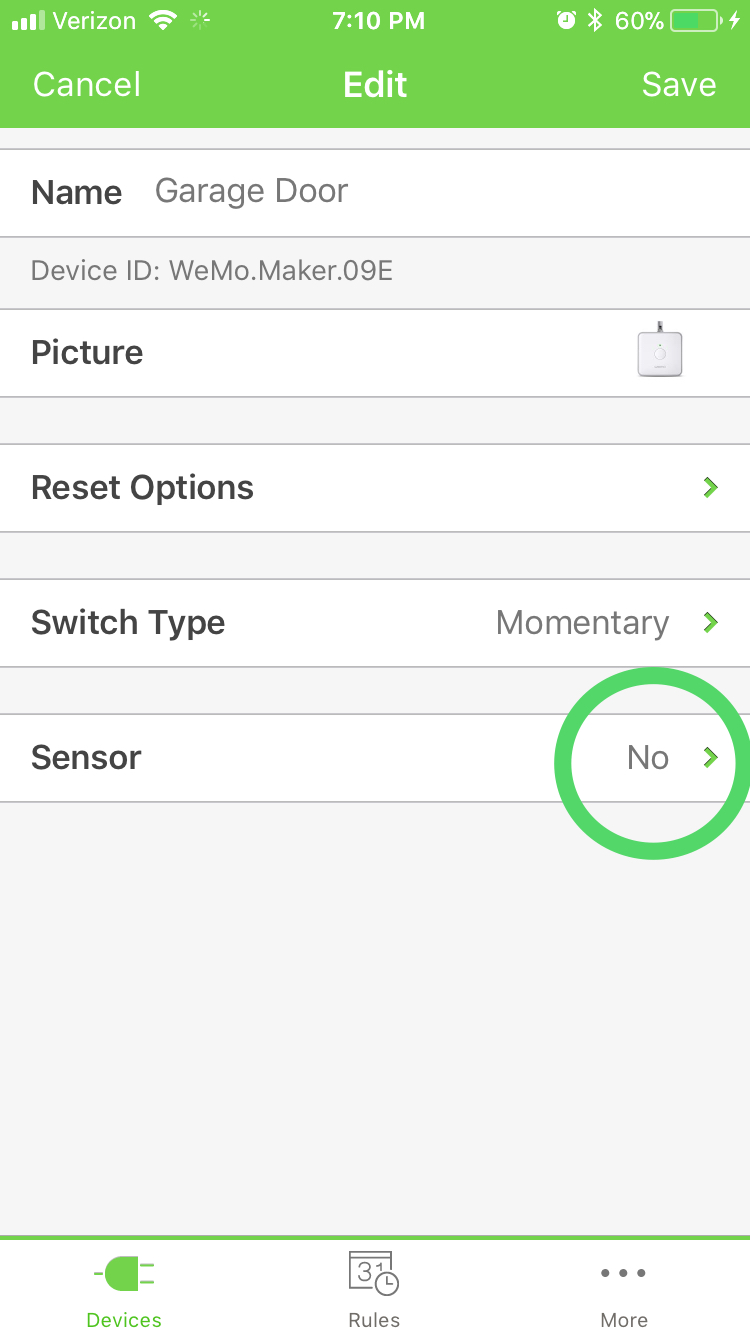
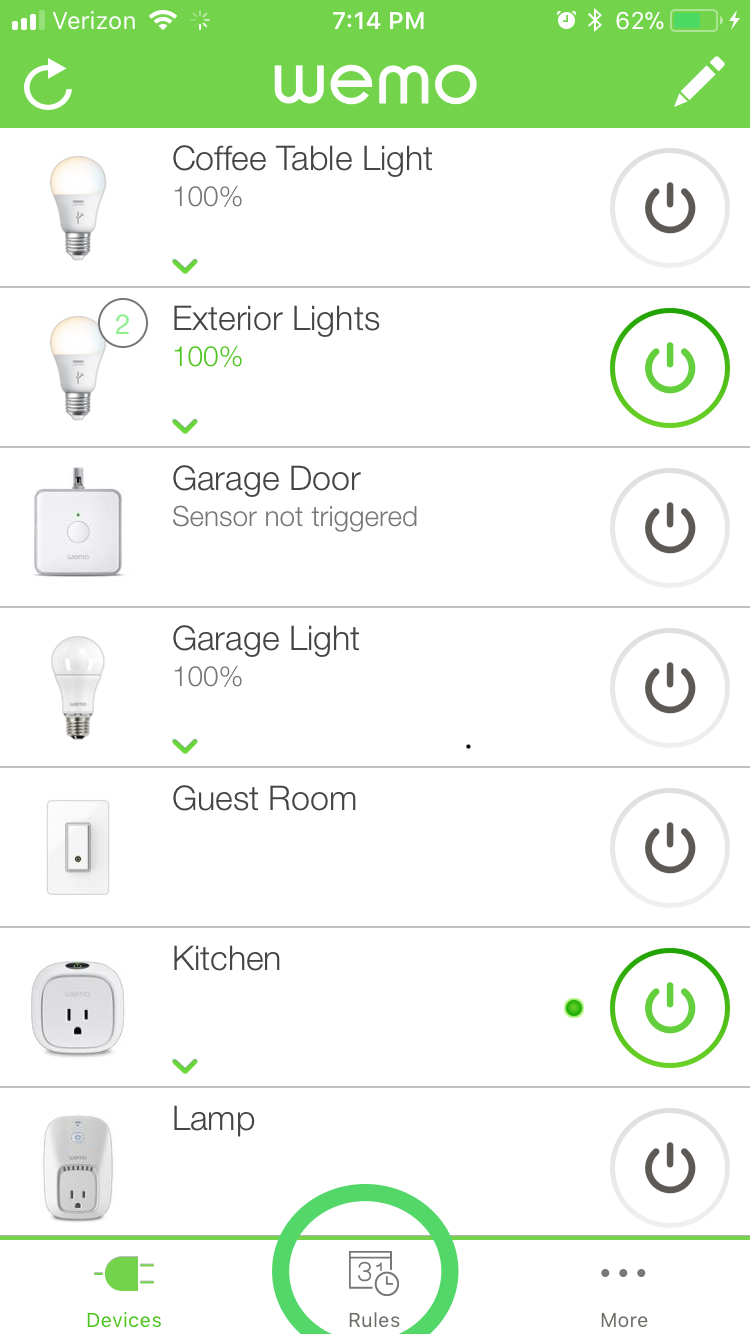
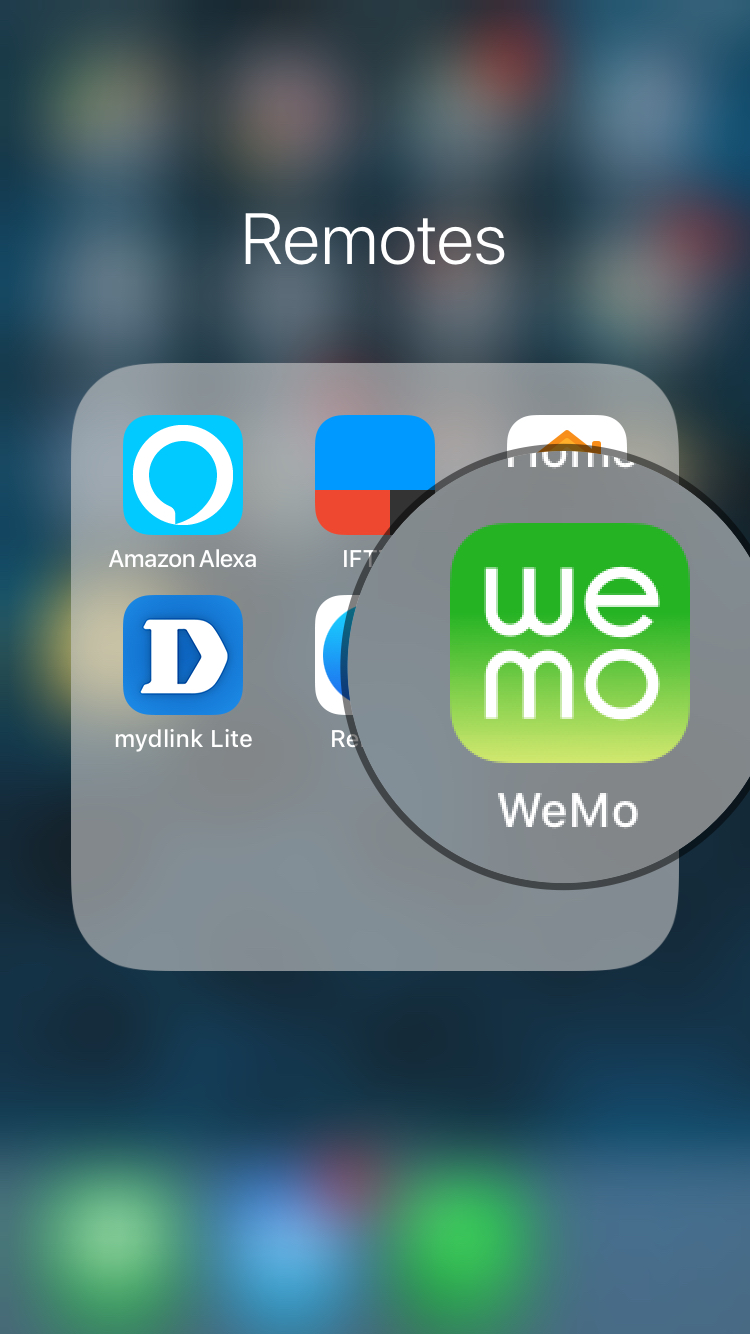
To start this project I downloaded the free WeMo app for my iPhone (Android and iOS supported) and followed the instructions that came with the WeMo Maker to get it connected to my home WiFi network. This didn’t take any longer than a few minutes… it was very easy to do and involved first connecting my phone to the WeMo Maker’s WiFi network and then using the app to point the WeMo Maker to my home network name (SSID) and providing the password so it can then join my network. I configured the switch by giving it a new name “Garage Door” and configured the Switch Type as MOMENTARY.
Note: For now, don’t mess with the Reset Options or the Sensor setting.
2
Once the WeMo Maker was joined to my home network, I took the device to the garage and found a free wall plug to power the WeMo Maker.
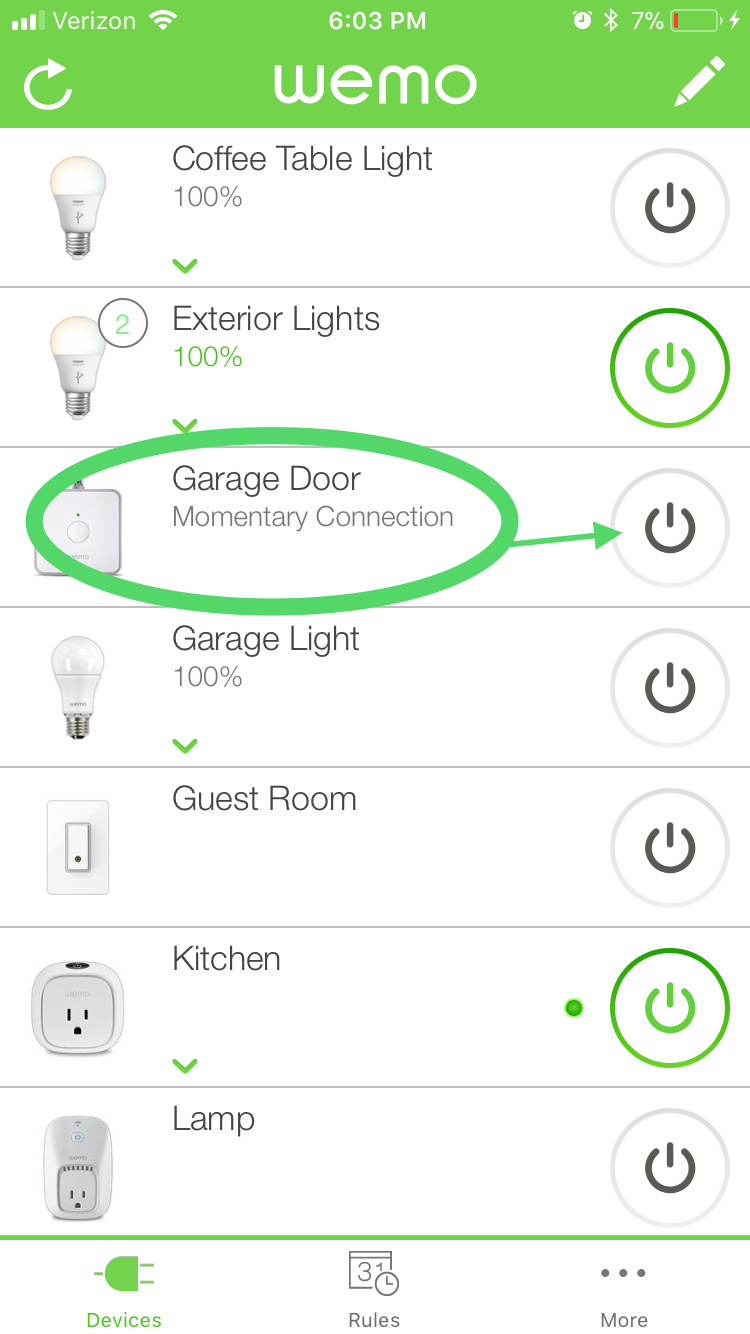
Note: When you press the button for the WeMo Maker switch, you should hear the relay inside the Maker box click. If the button on the WeMo app turns green and stays green, you’ve not configured the button for MOMENTARY – this is required because it simulates pressing and releasing the button. Use the EDIT feature if this happens and change the Switch Type setting to MOMENTARY and try again. The button on the WeMo app should turn green for a second or so, and then return to non-green status
3
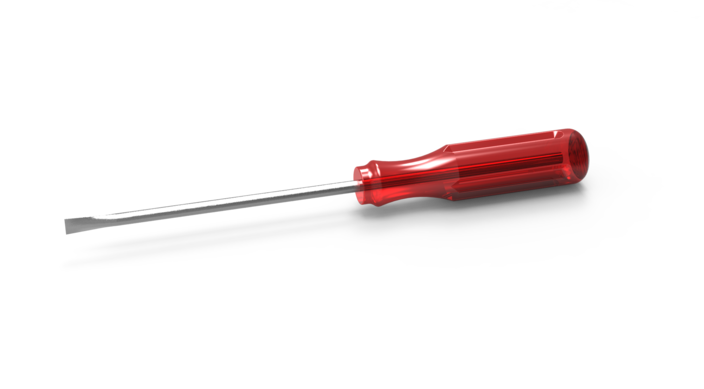
I used a screwdriver to unscrew the garage door button from the wall. Behind the button, were two screws, each holding down a wire. I unscrewed these enough to pull out the two wires, then plugged the wires into the two WeMo ports labeled RELAY. I used a flat head screwdriver to make sure the wires are in the ports nice and snug.
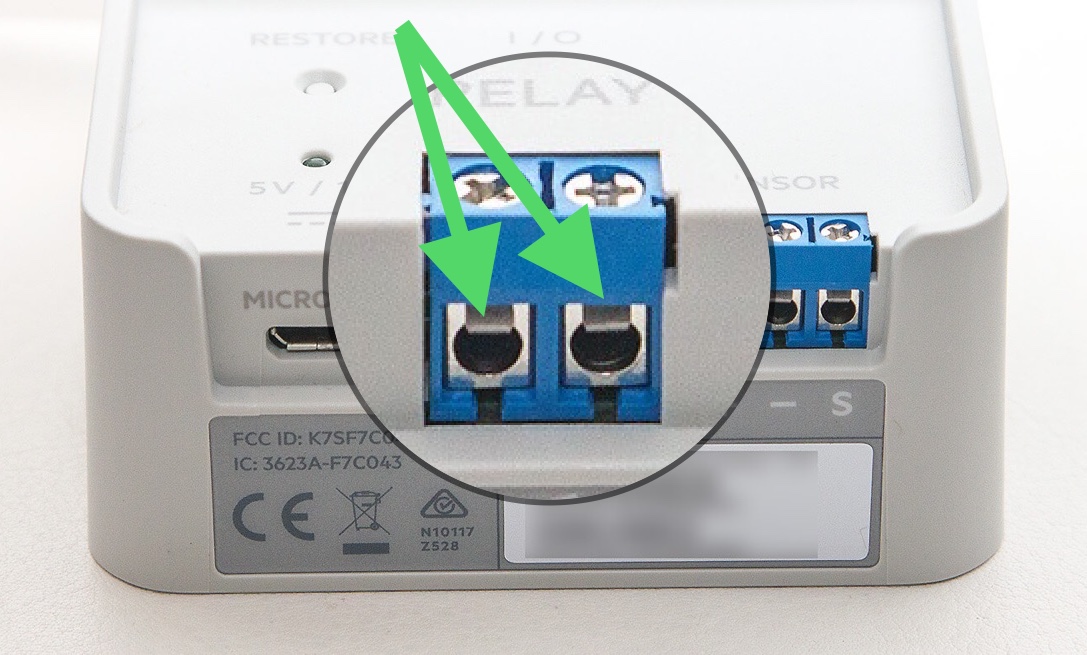
Note: With this setup, I’ve replaced the garage door opener button with the WeMo Maker.
Once the wires were plugged into the ports, the garage door now opens and closes using the WeMo app.
4
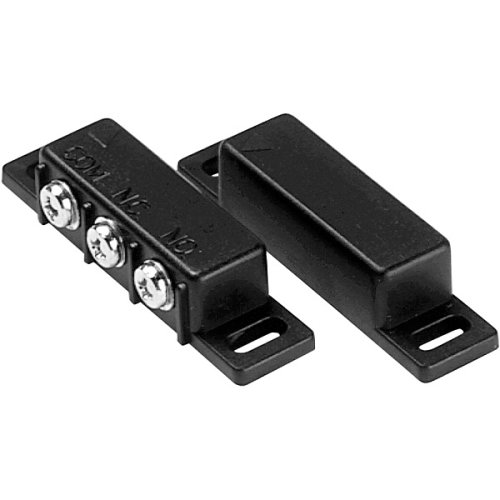
Next step is setting up the Trigger, so I can receive notifications of the garage door opening and closing. For this I purchased a Magnetic Read Switch and the additional 14 Gauge Wire. With the garage door closed, I mounted the magnet to the side of the door and the other end to the wall so the two pieces are close together as shown in the picture below.
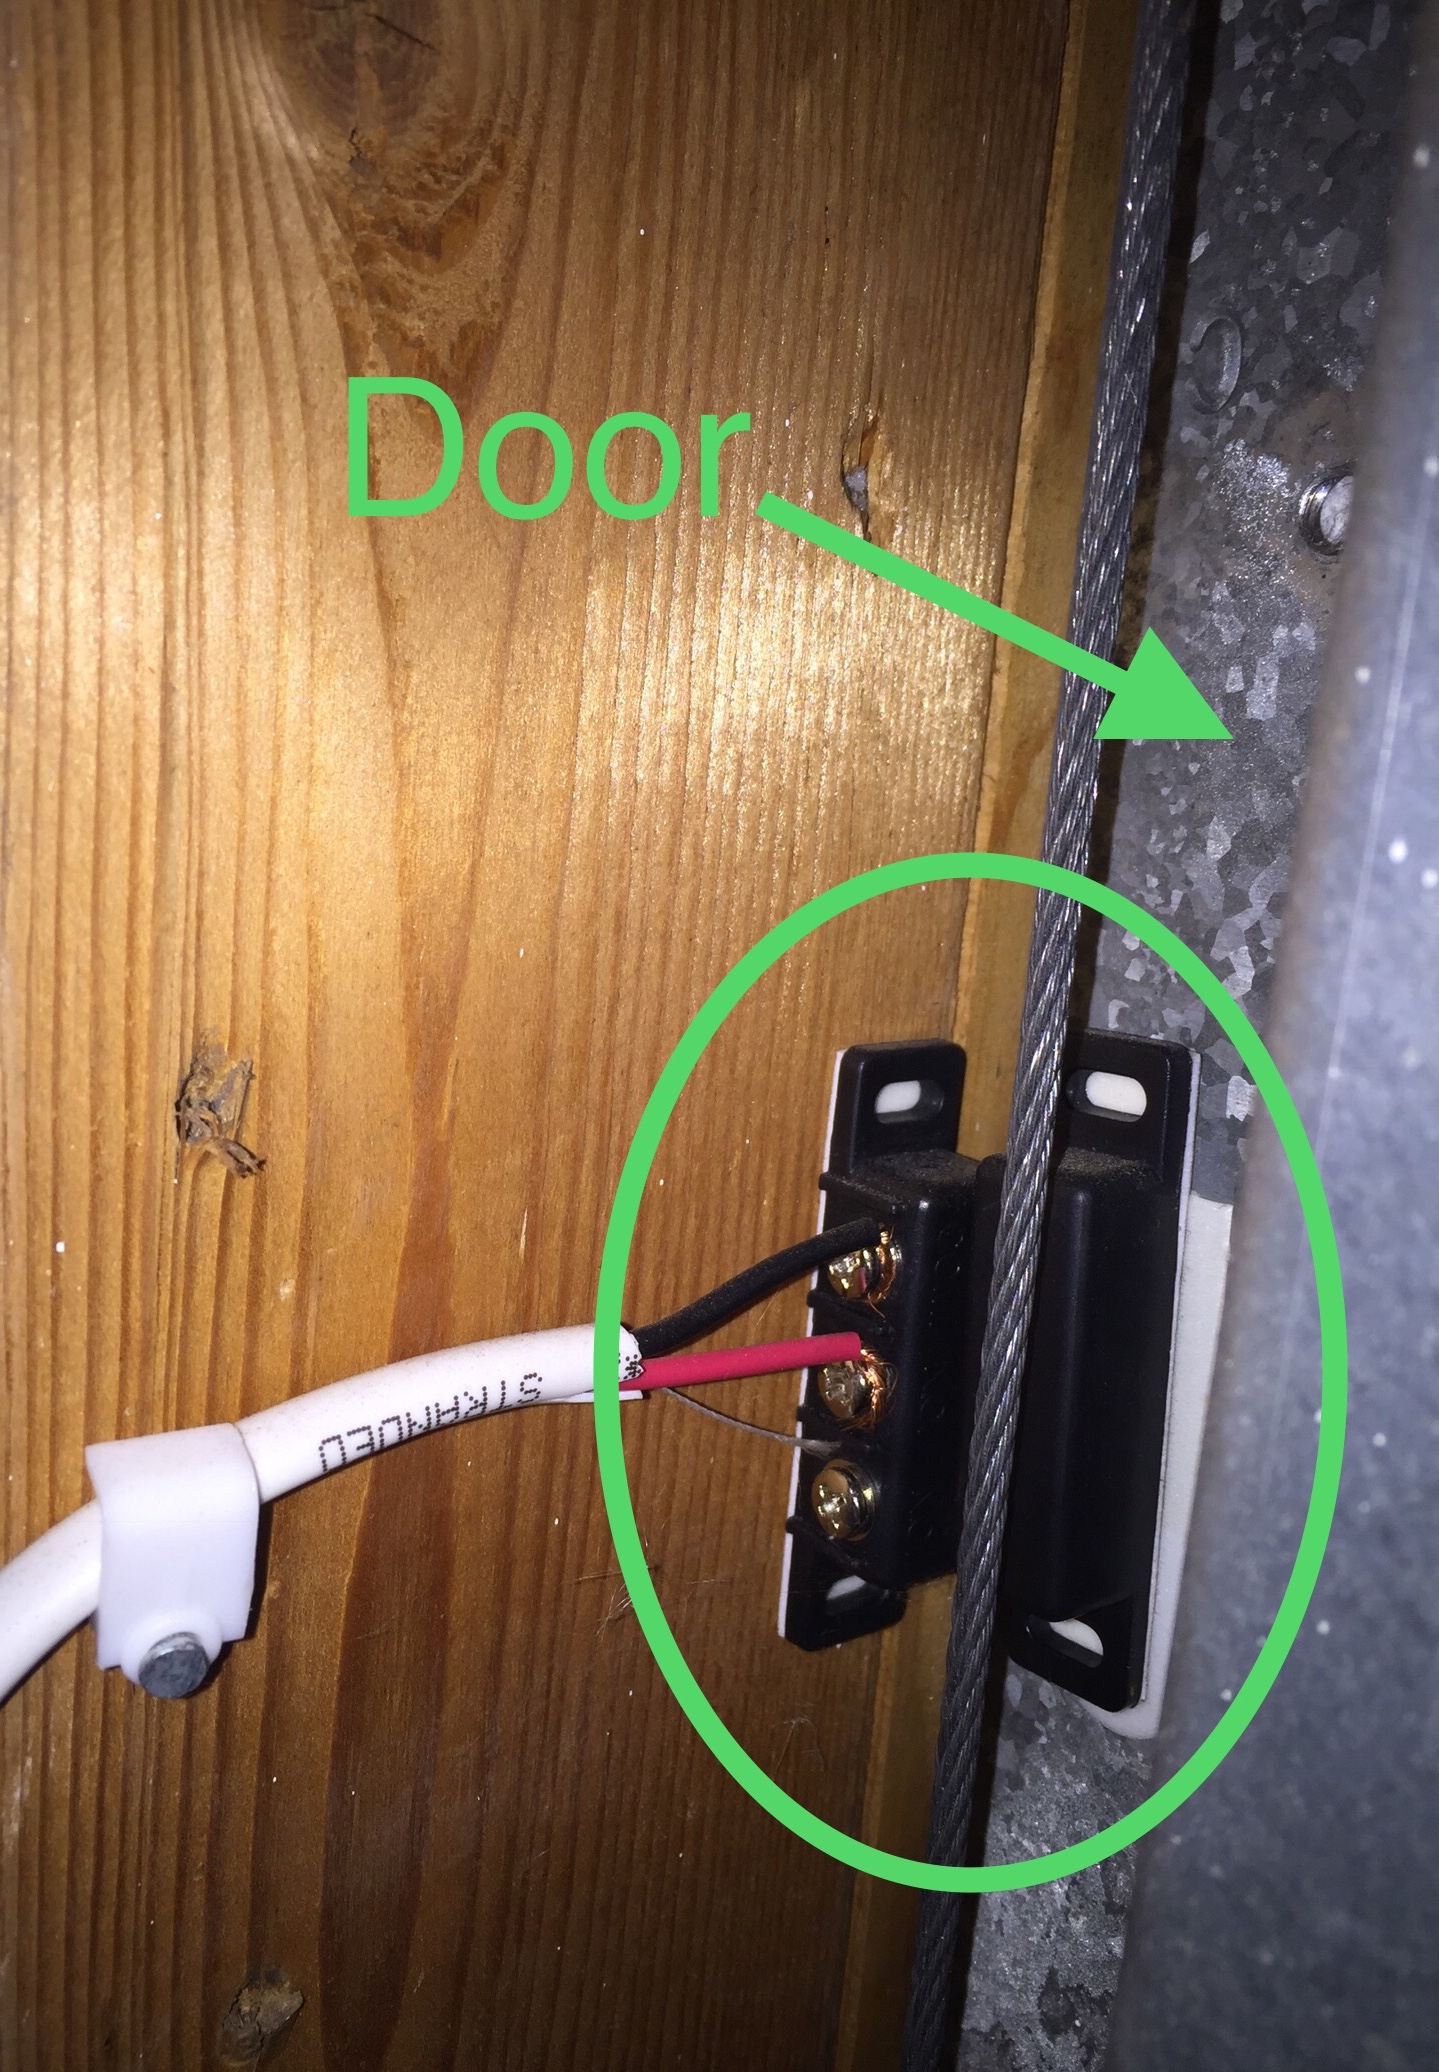
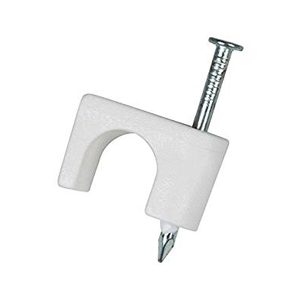
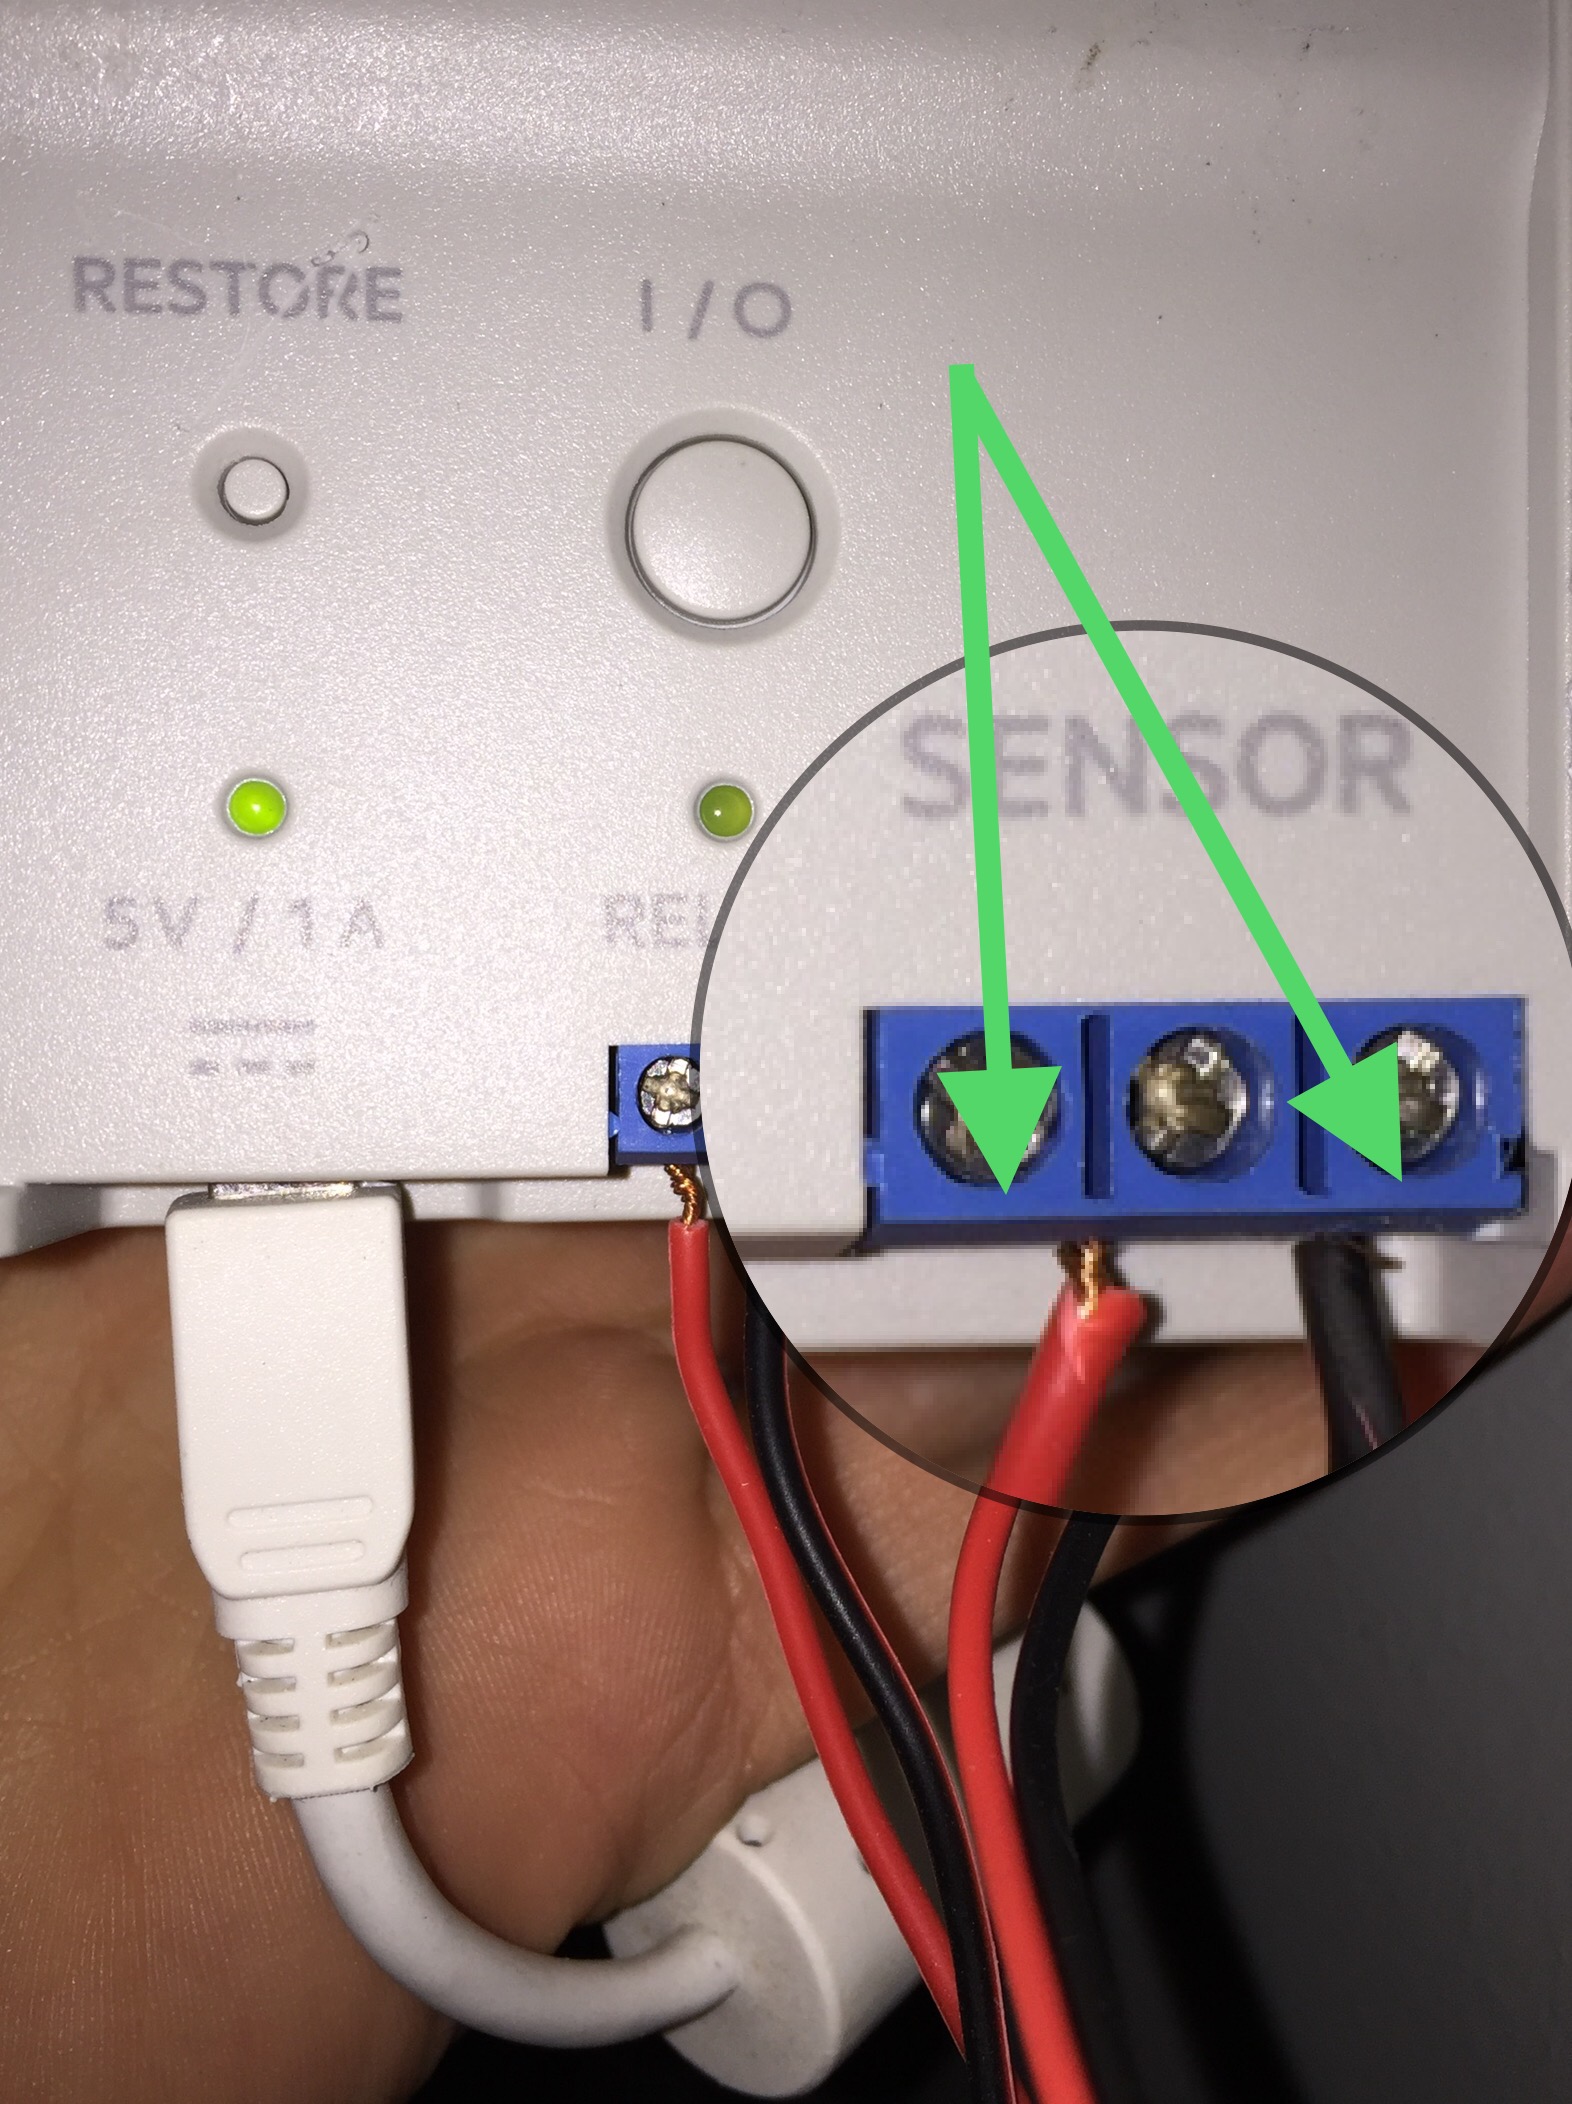
With the switch installed, I ran the wire back to the Wemo Maker, using the hammer to nail up the cable clips to neatly hold the wire in place. I connected the two wires to the sensor ports like so in the photo below. Again, I used the screwdriver to make sure the wires are snug in the ports. Then I mounted the WeMo Maker to he wall where the old garage door button was.
5
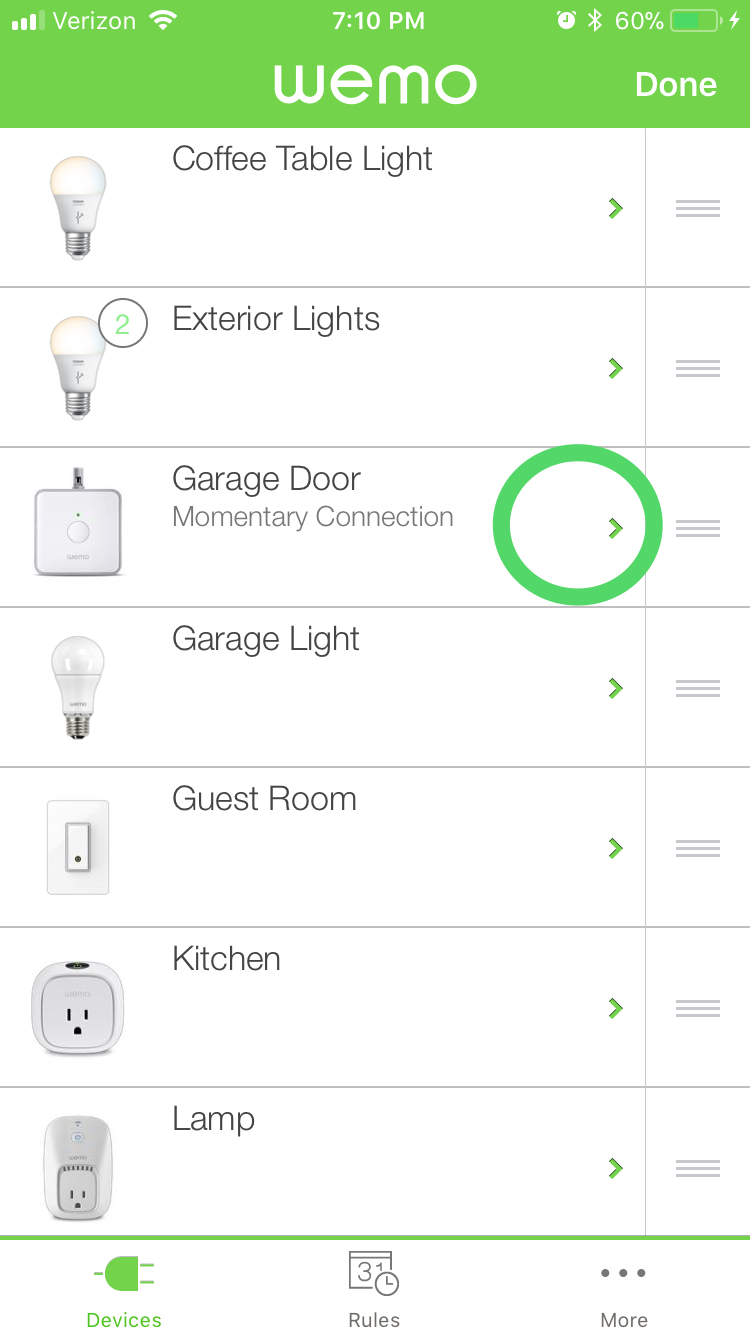
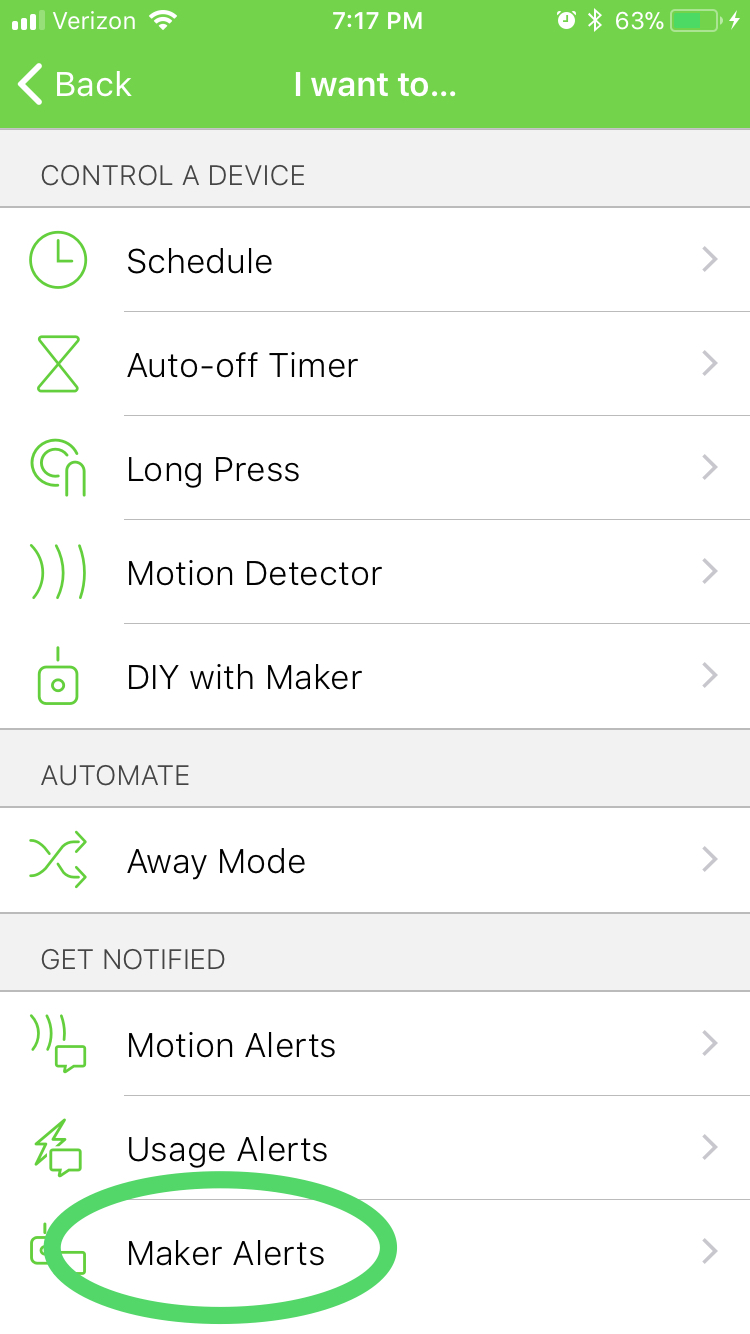
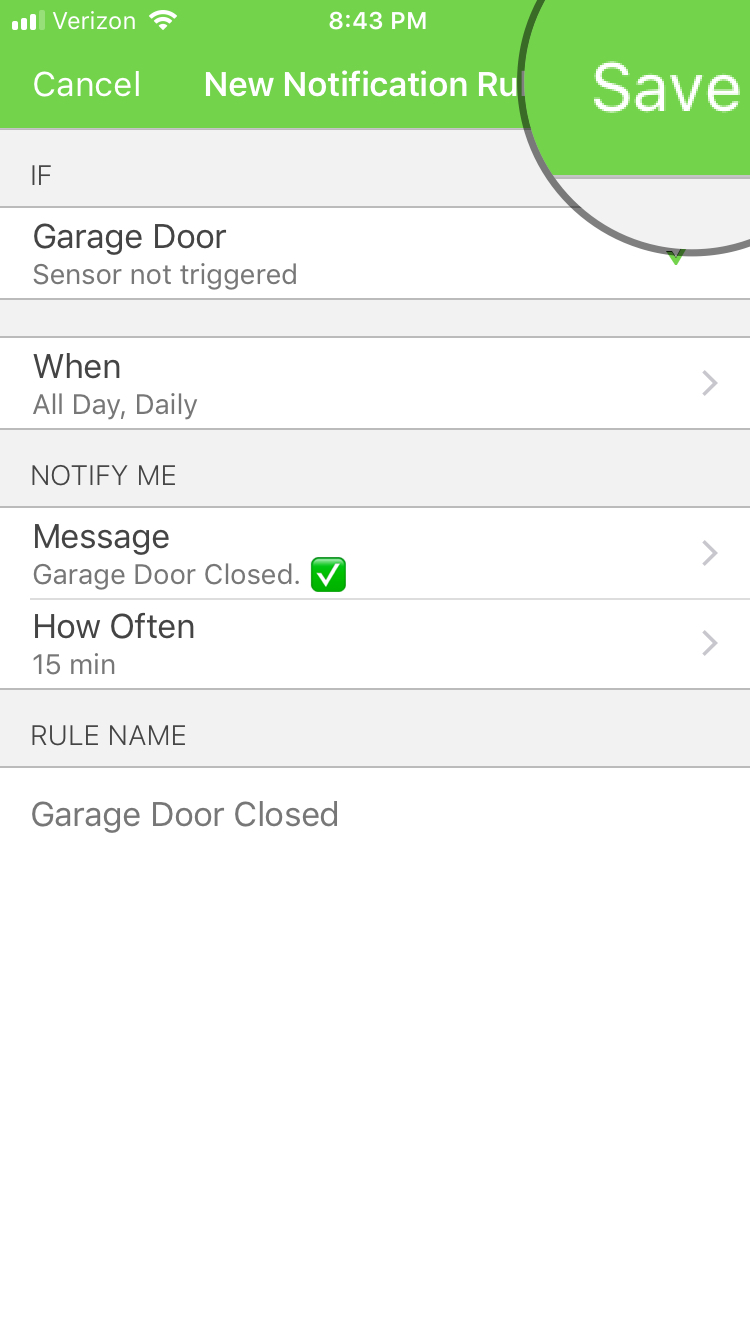
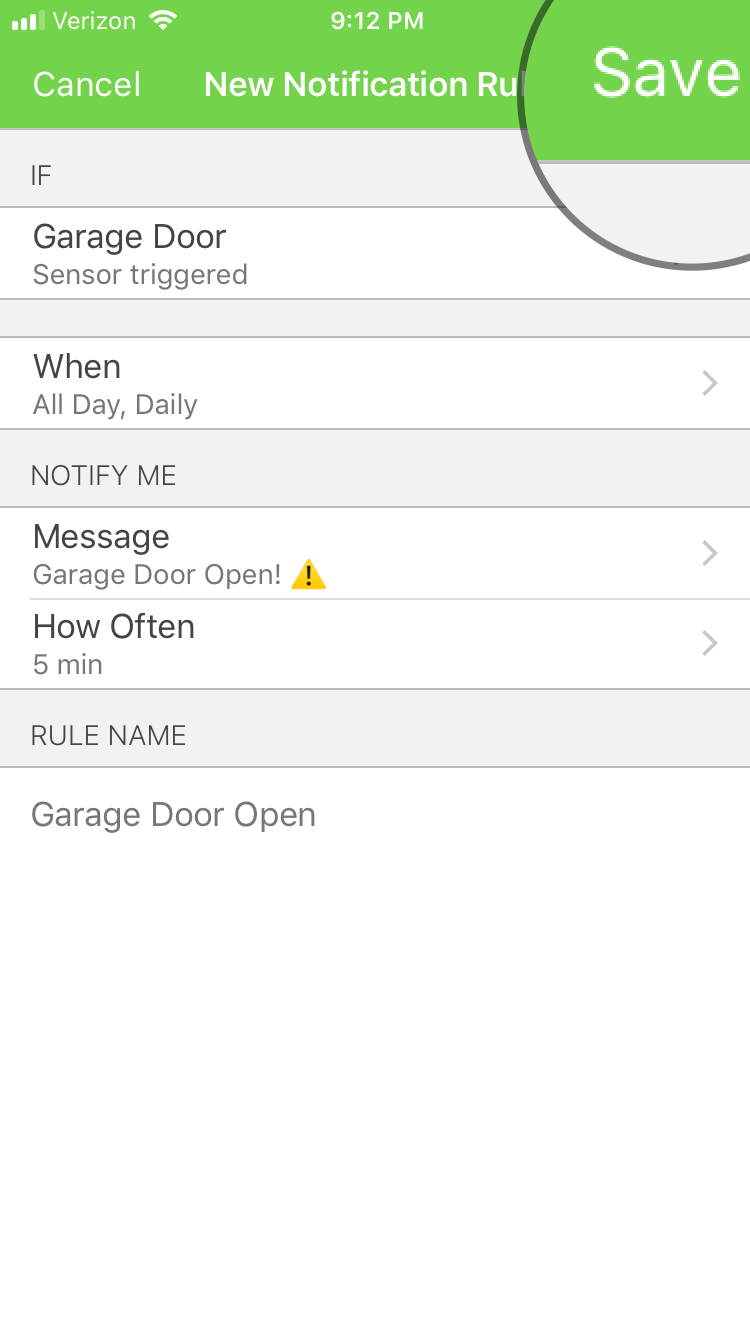
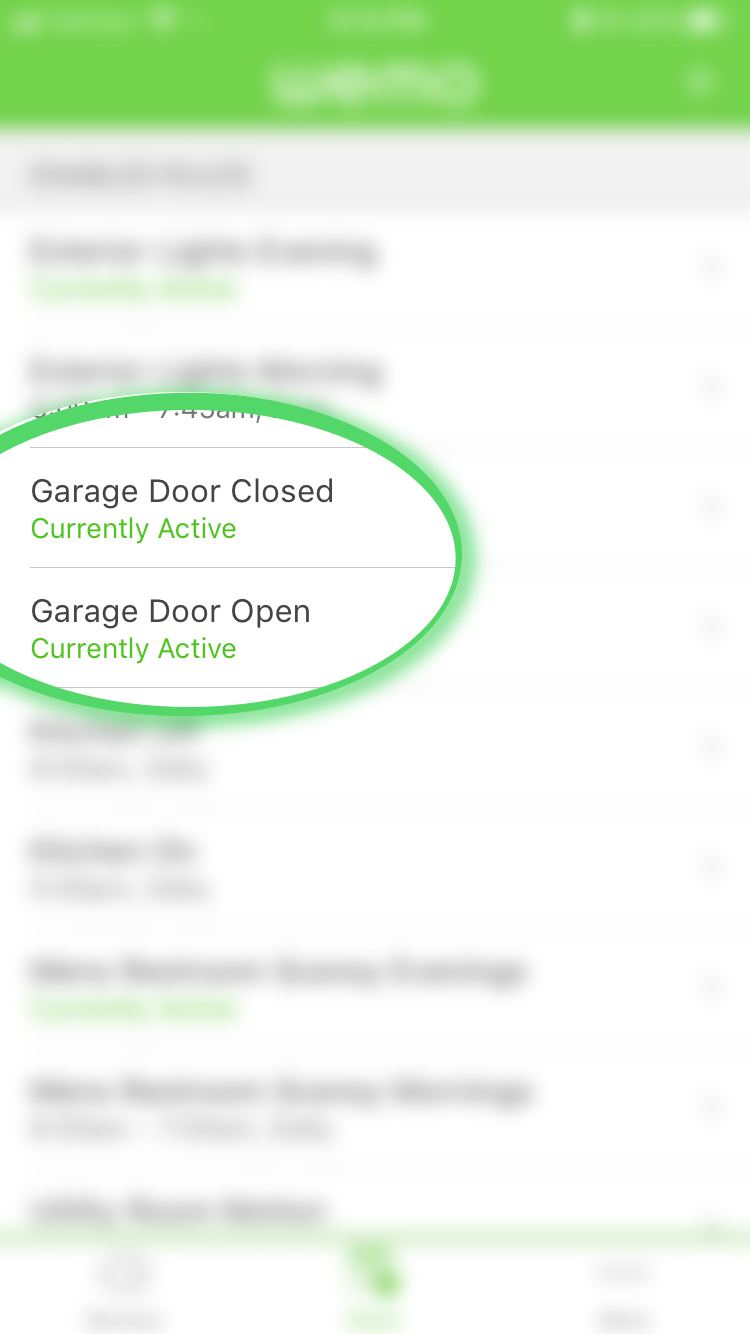
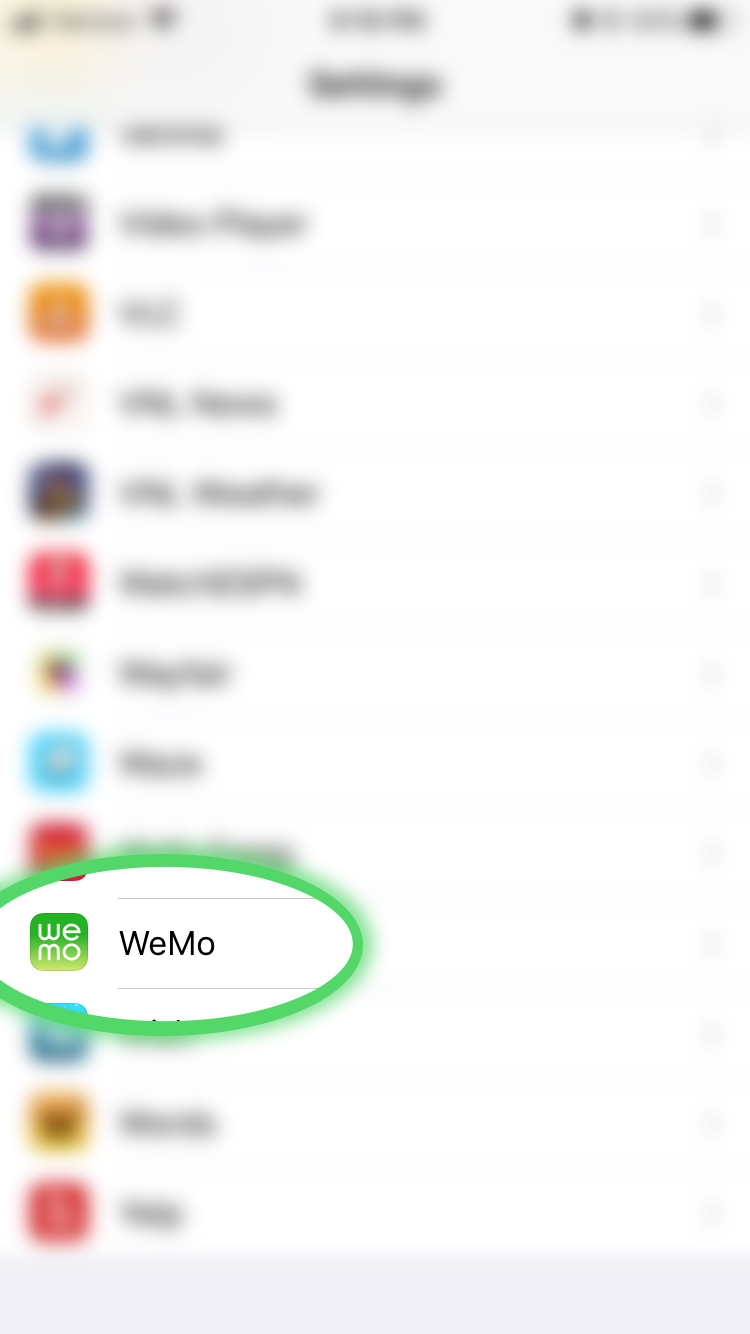
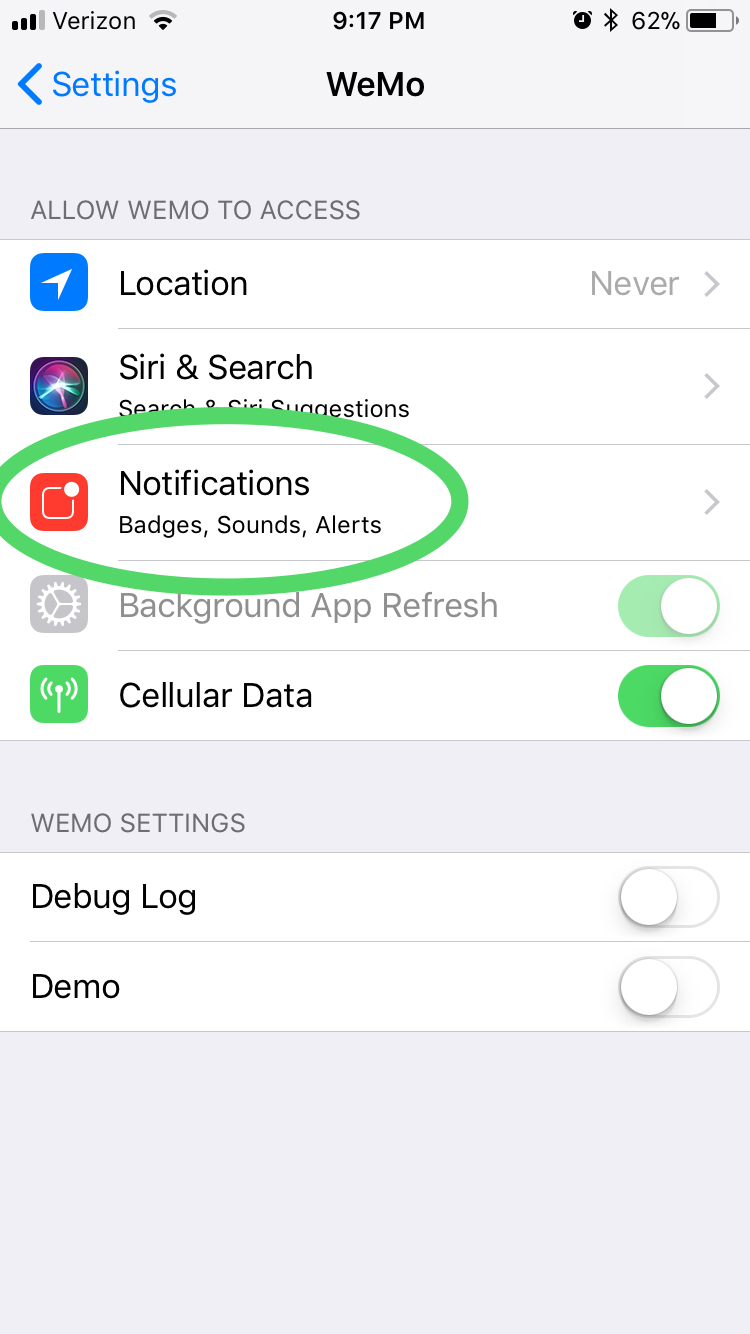
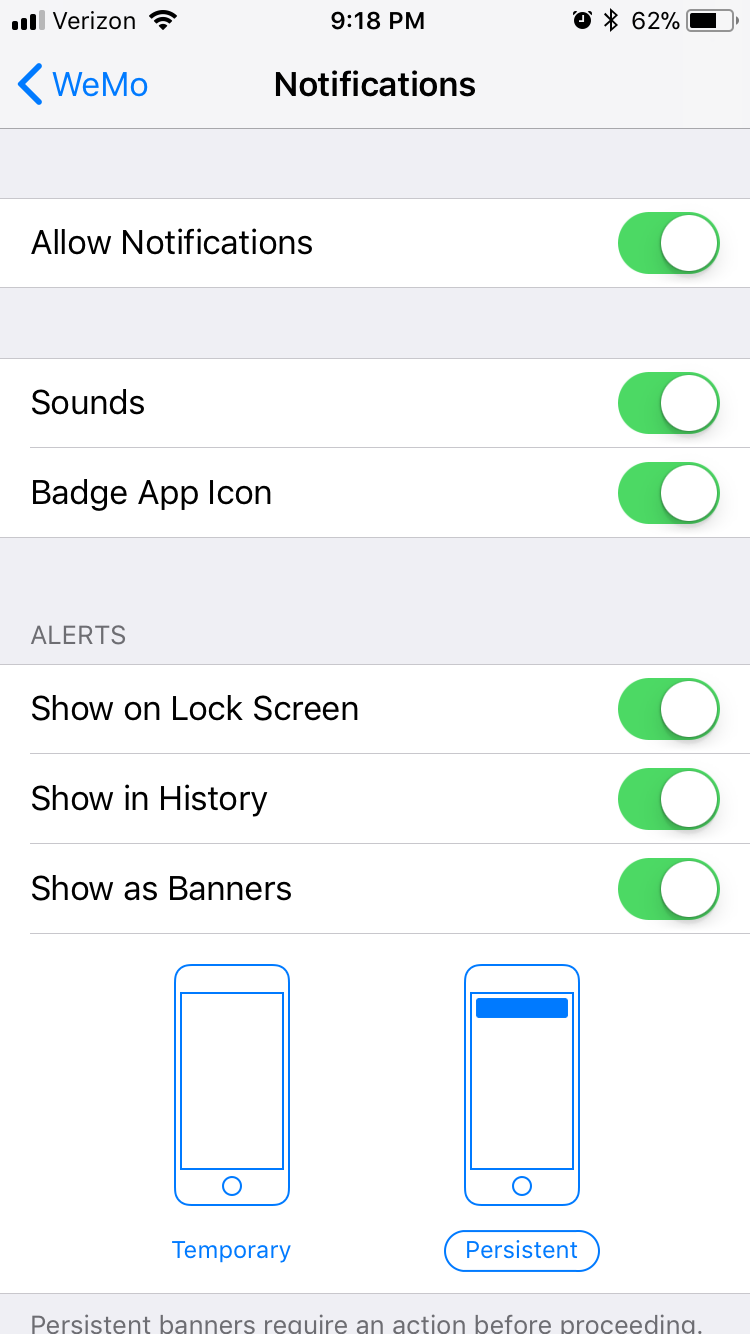
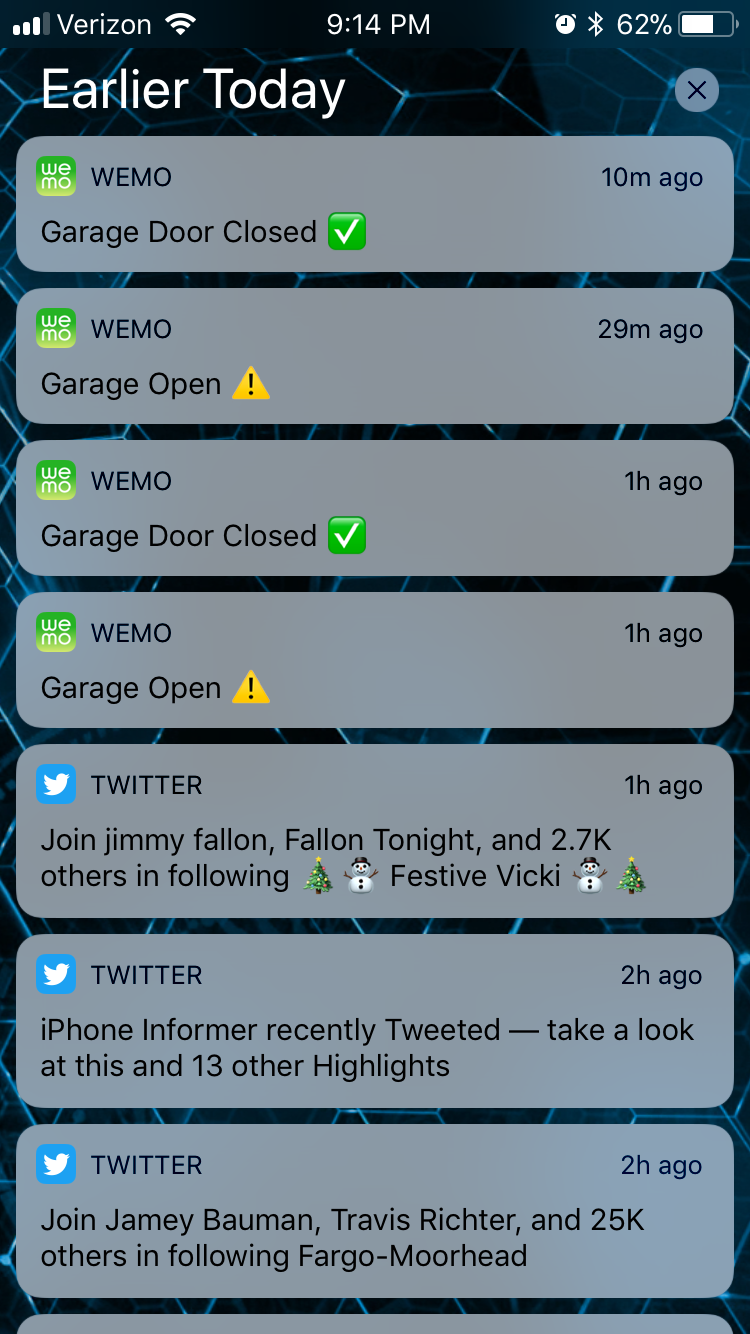
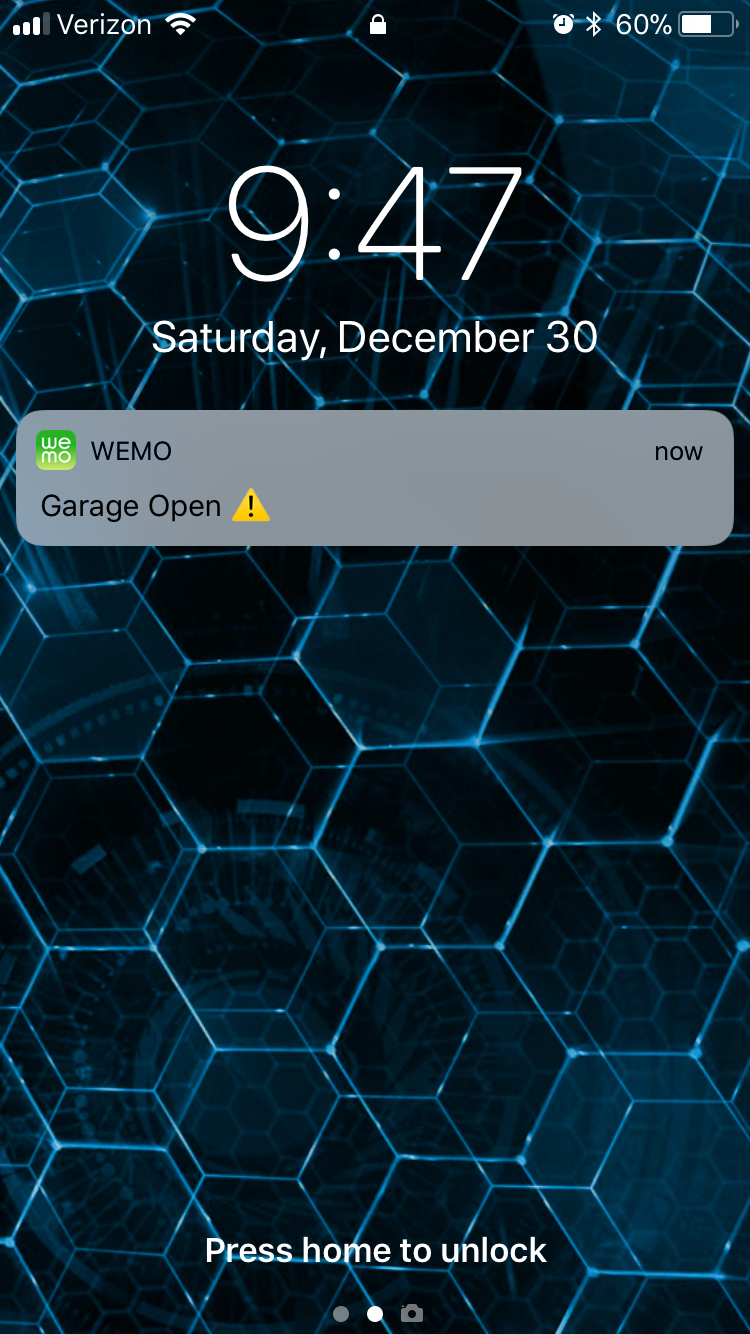
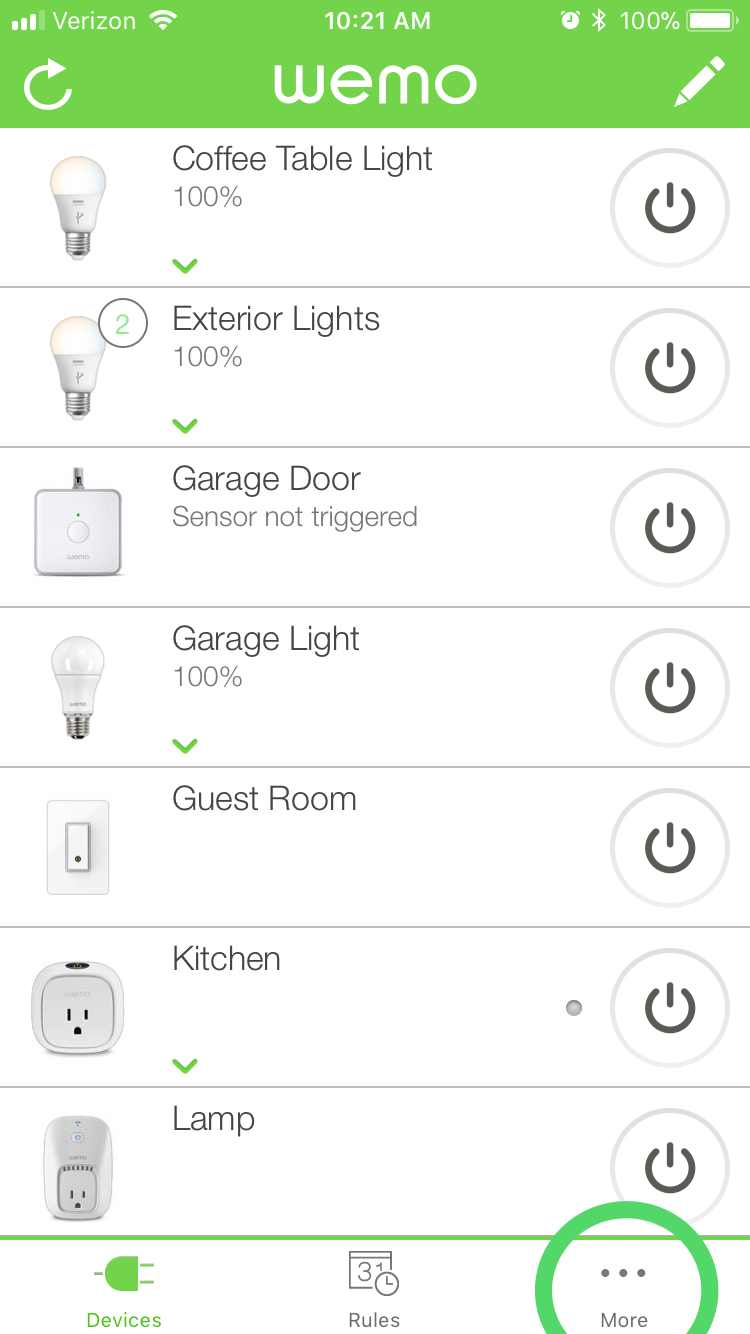
Follow the images below to see how I setup the notifications to display everytime the garage door opens.
Note: Notifications will display when the garage door opens or closes. This includes the door being opened by the remotes or vehicle remotes and is not limited to the WeMo Maker being switched to open or close the door.


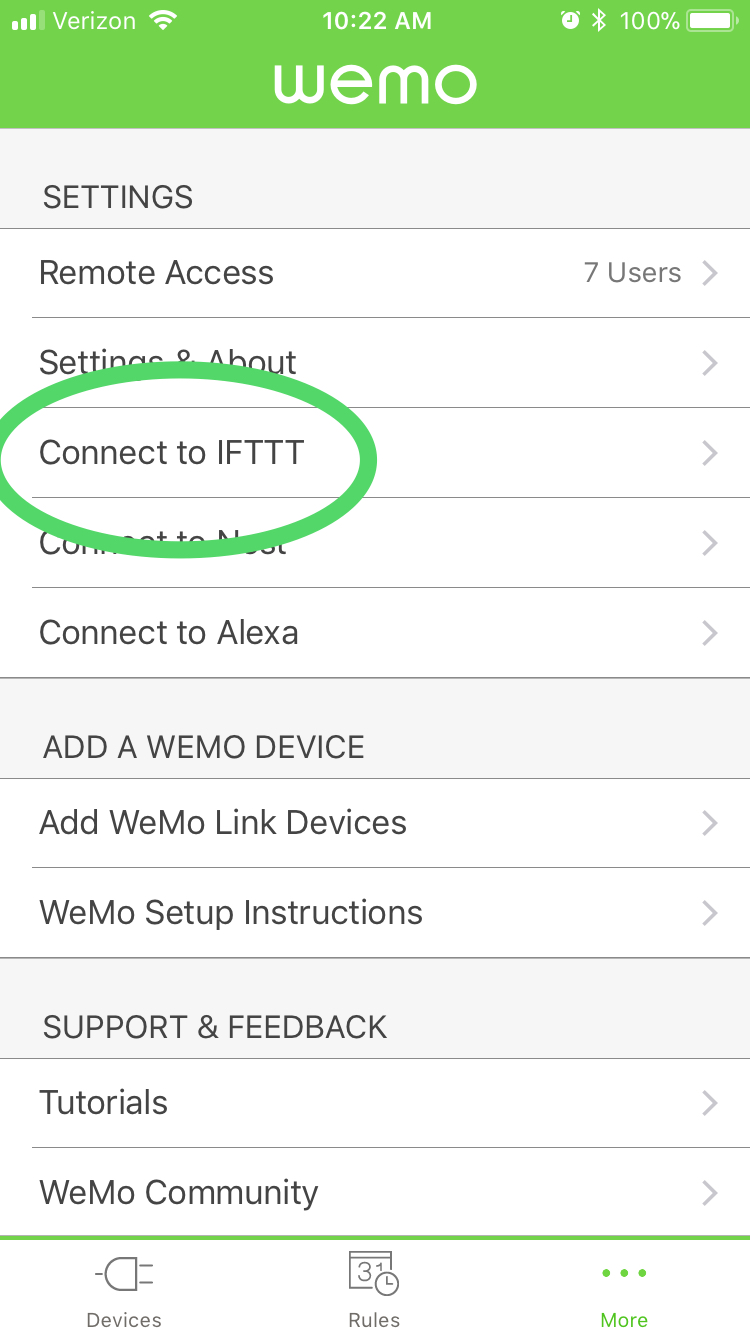
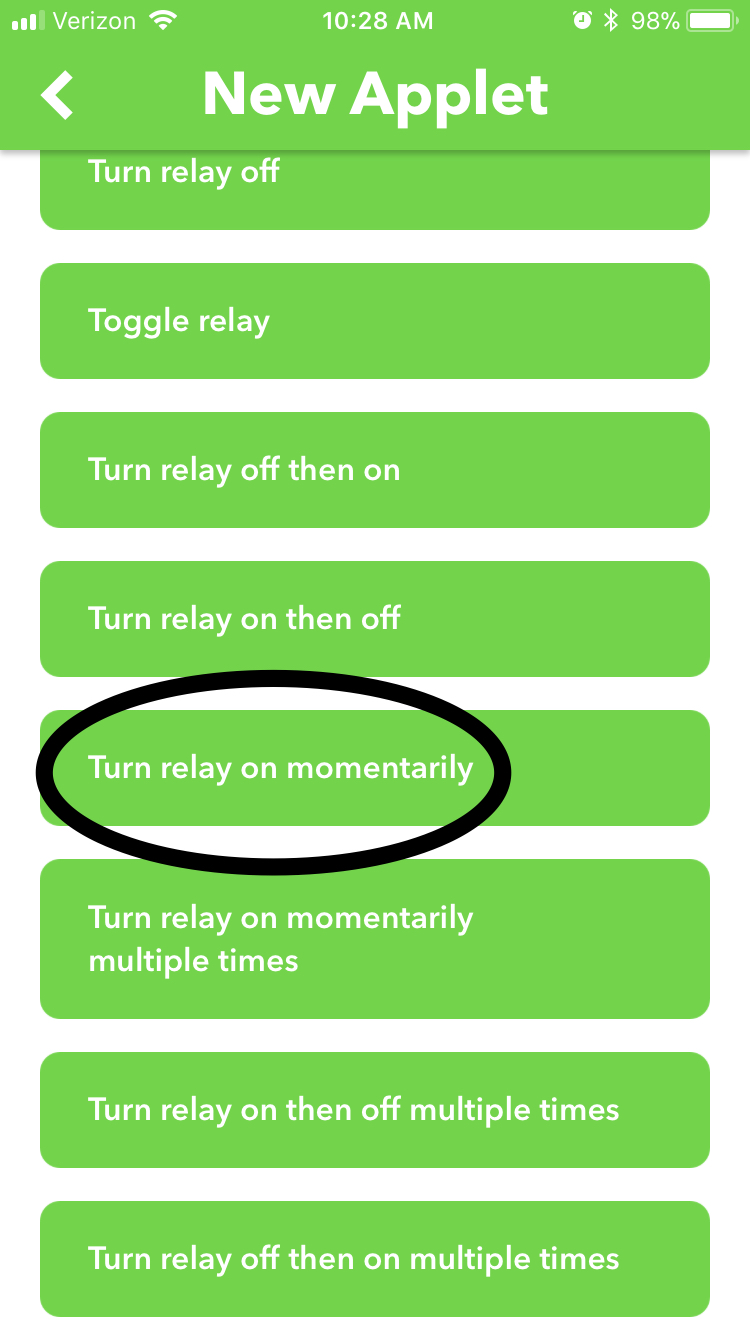
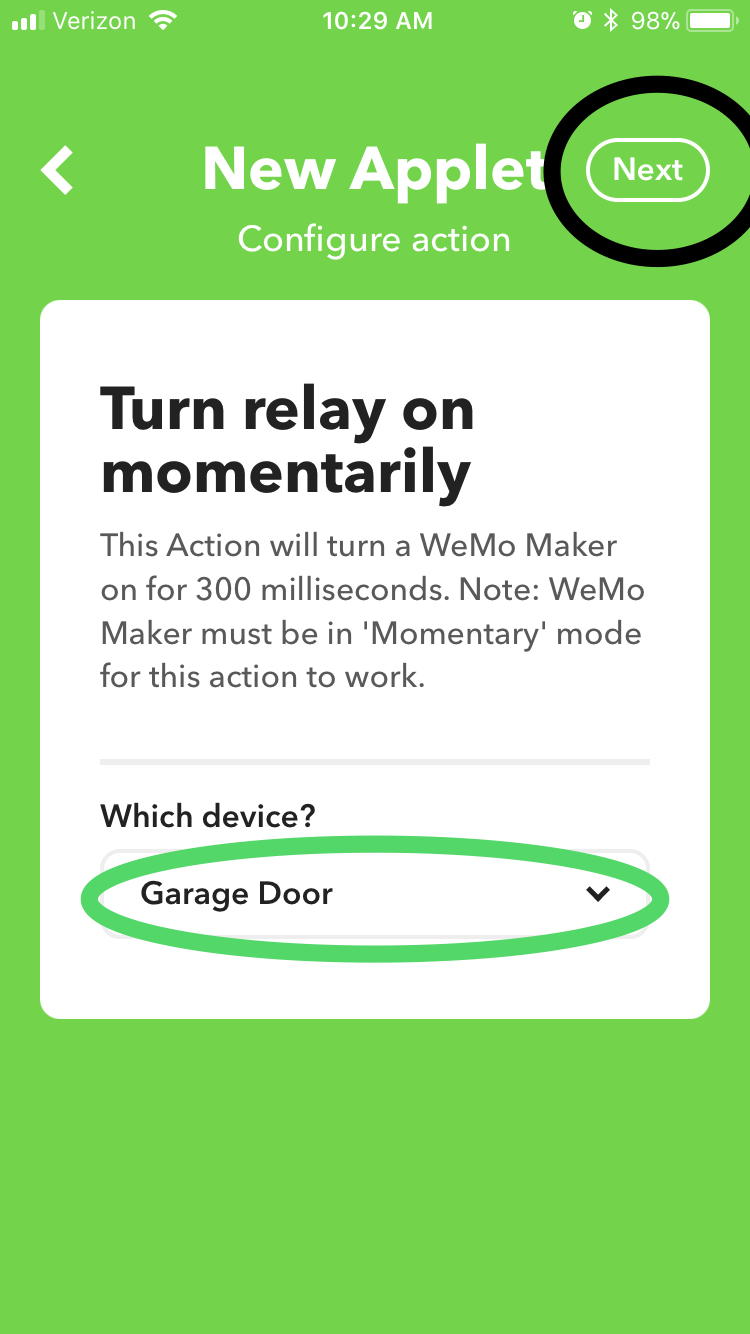
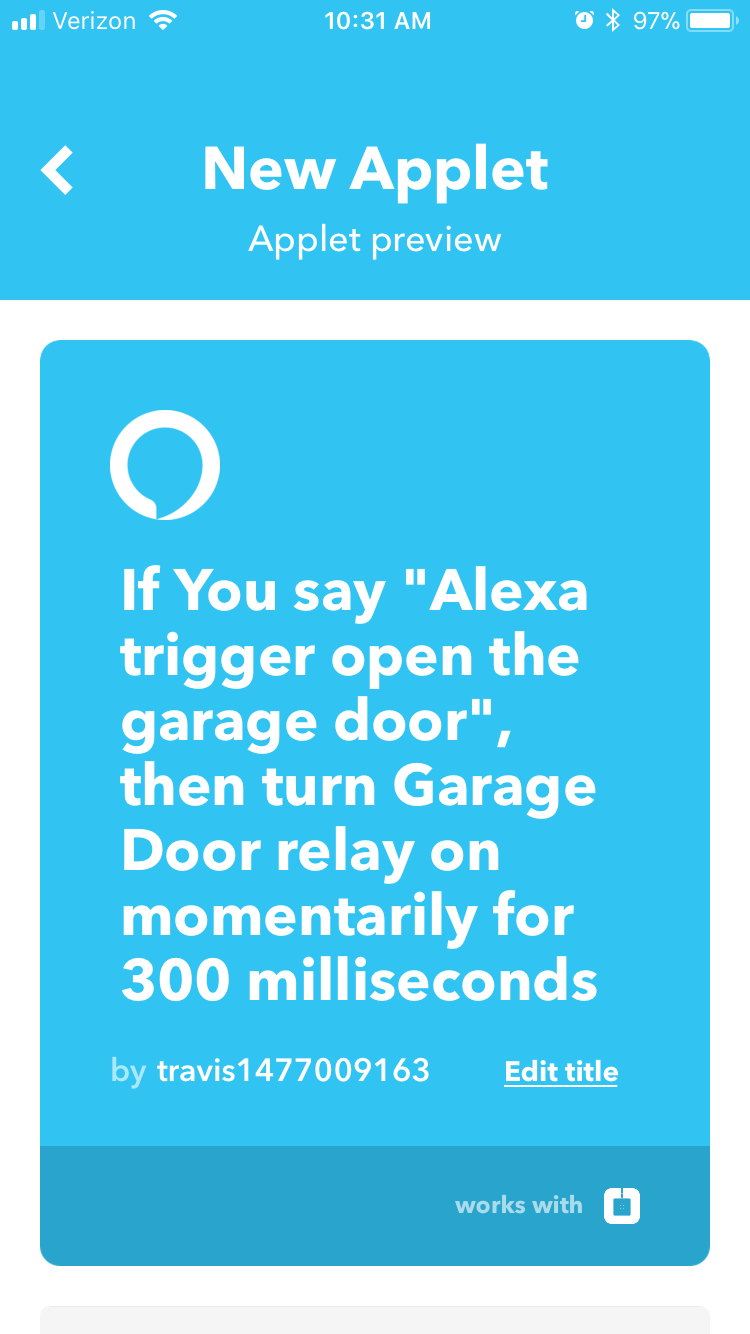
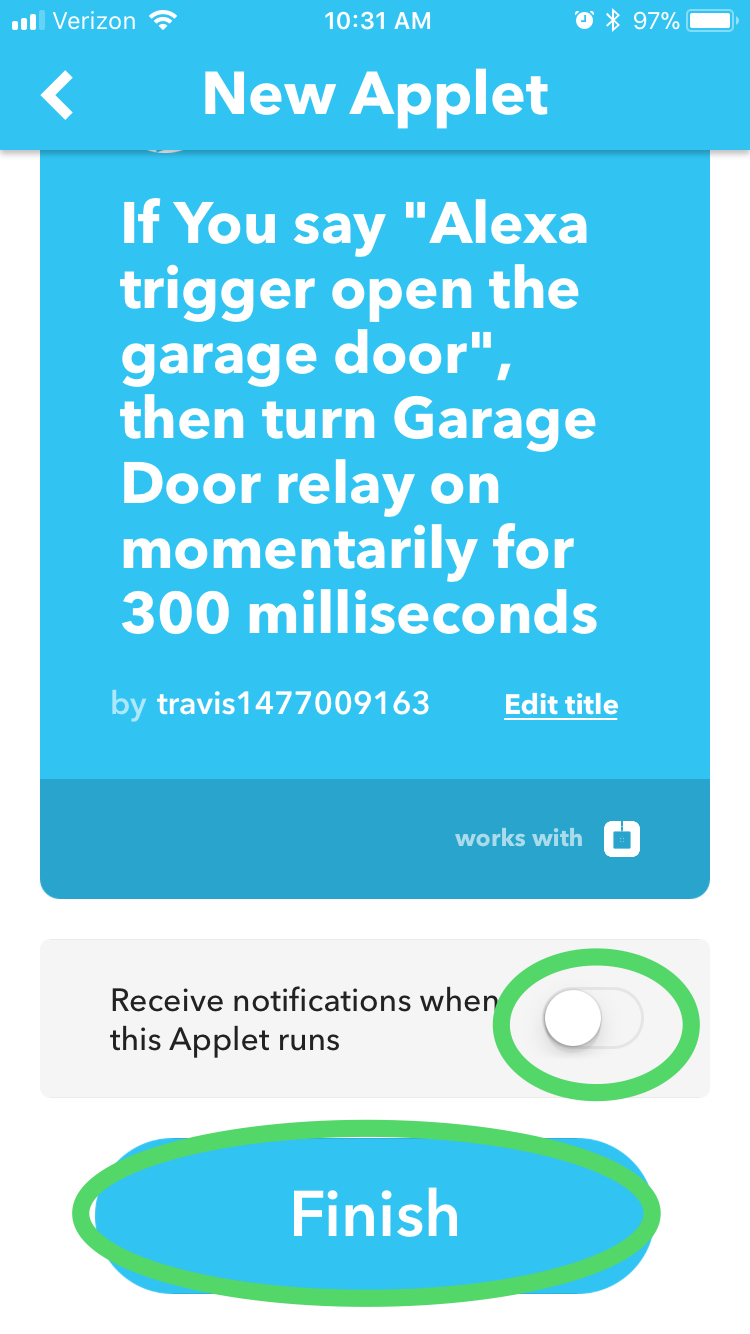
6
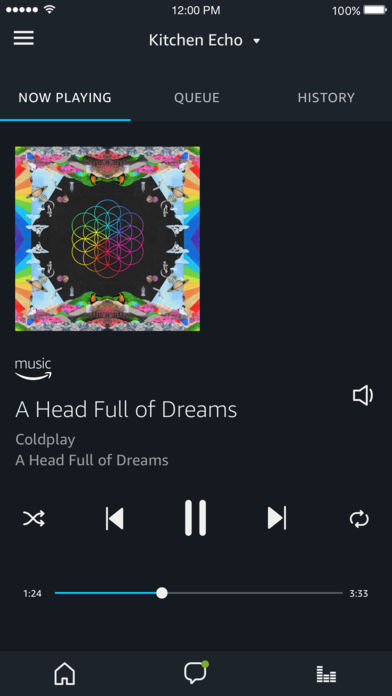
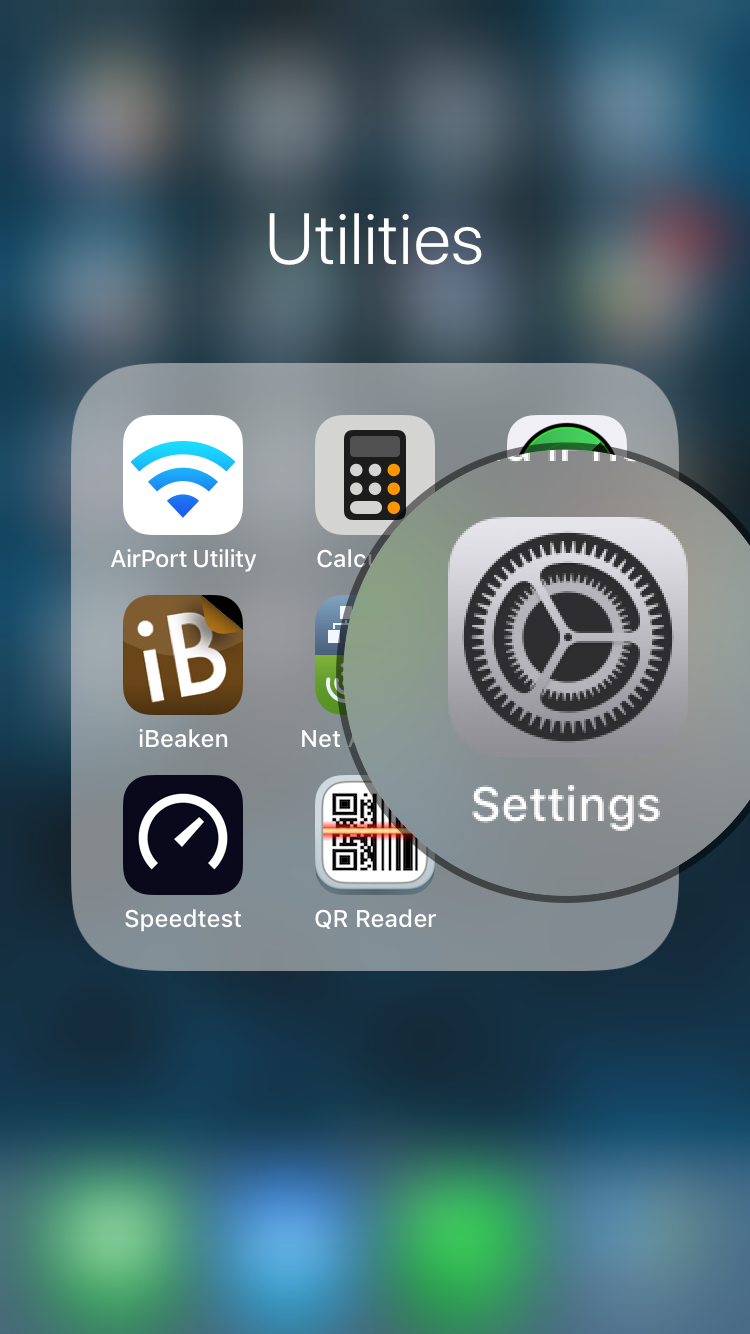
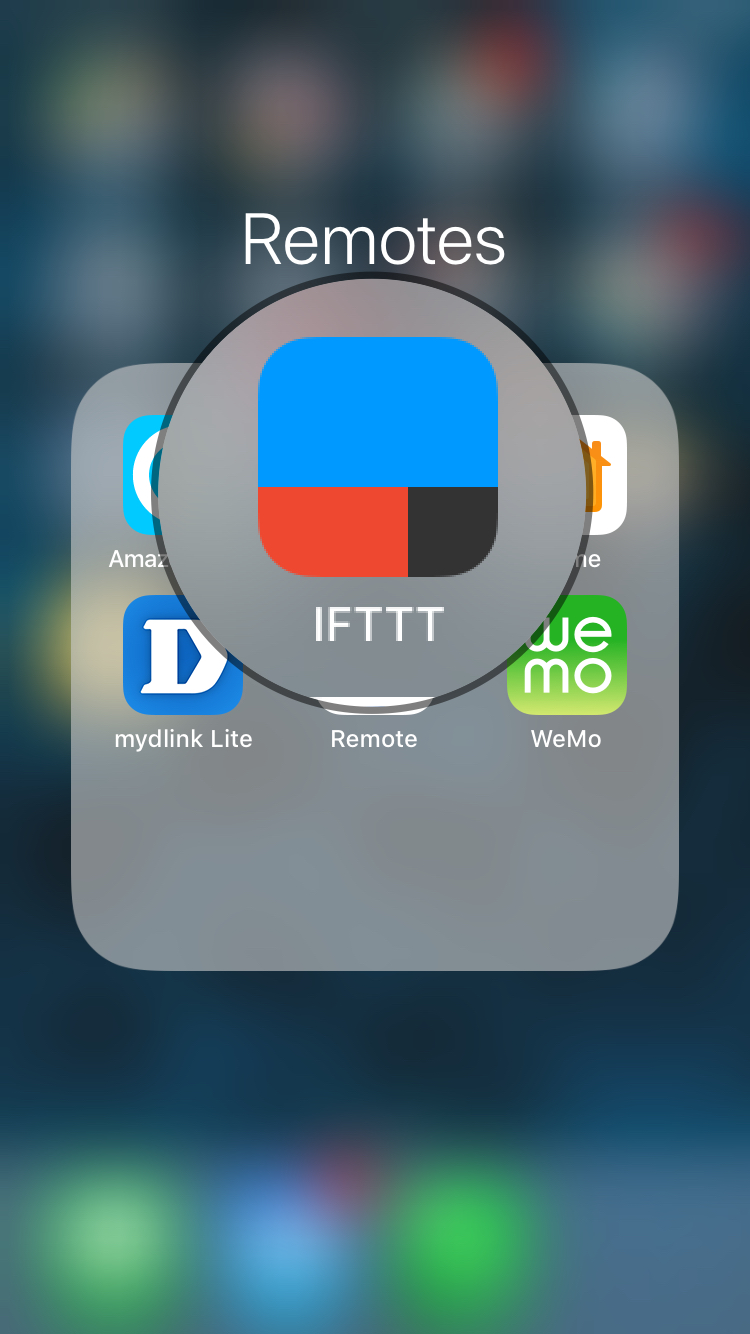
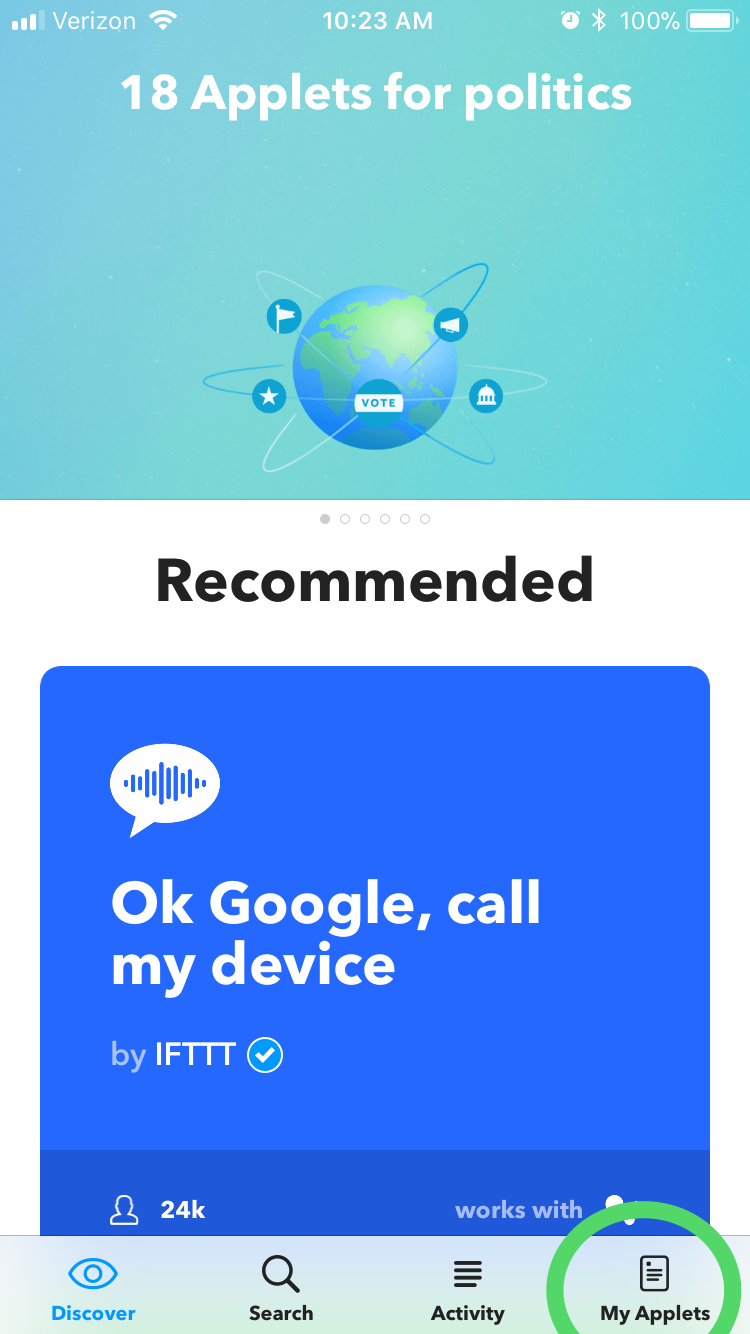
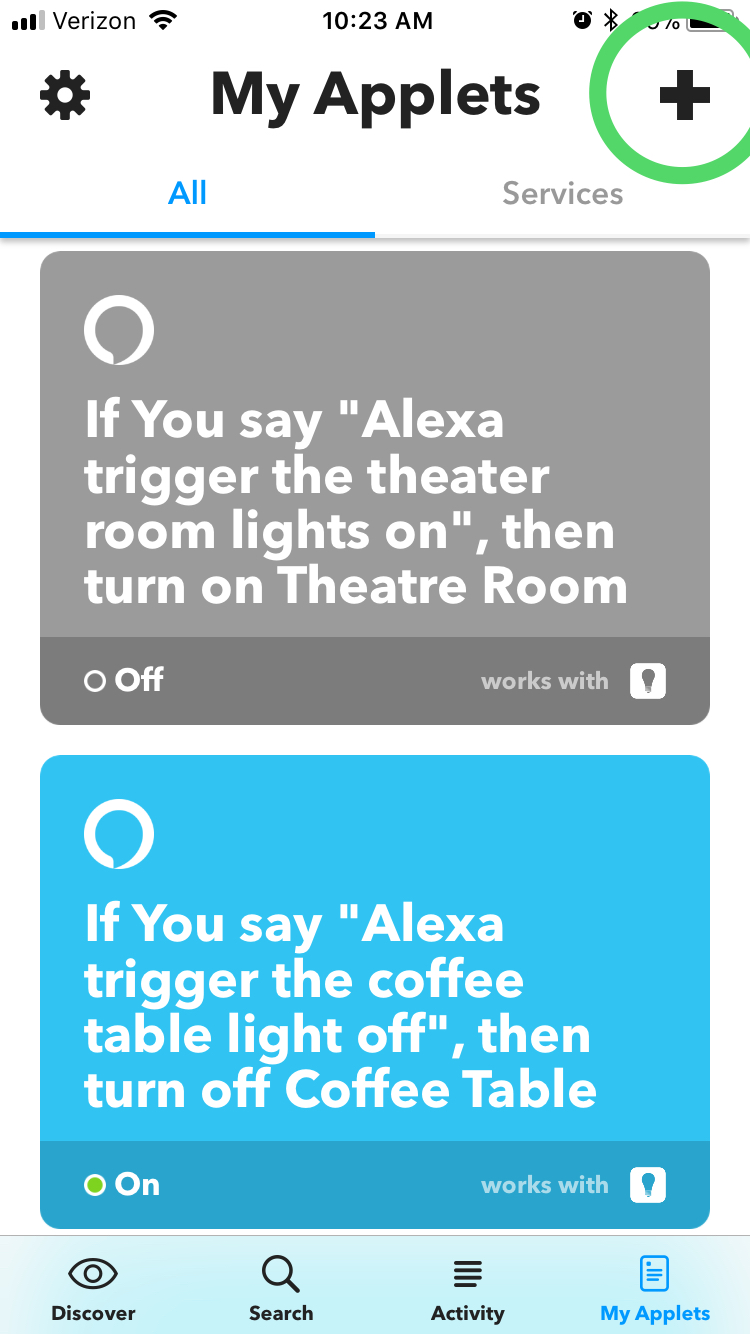
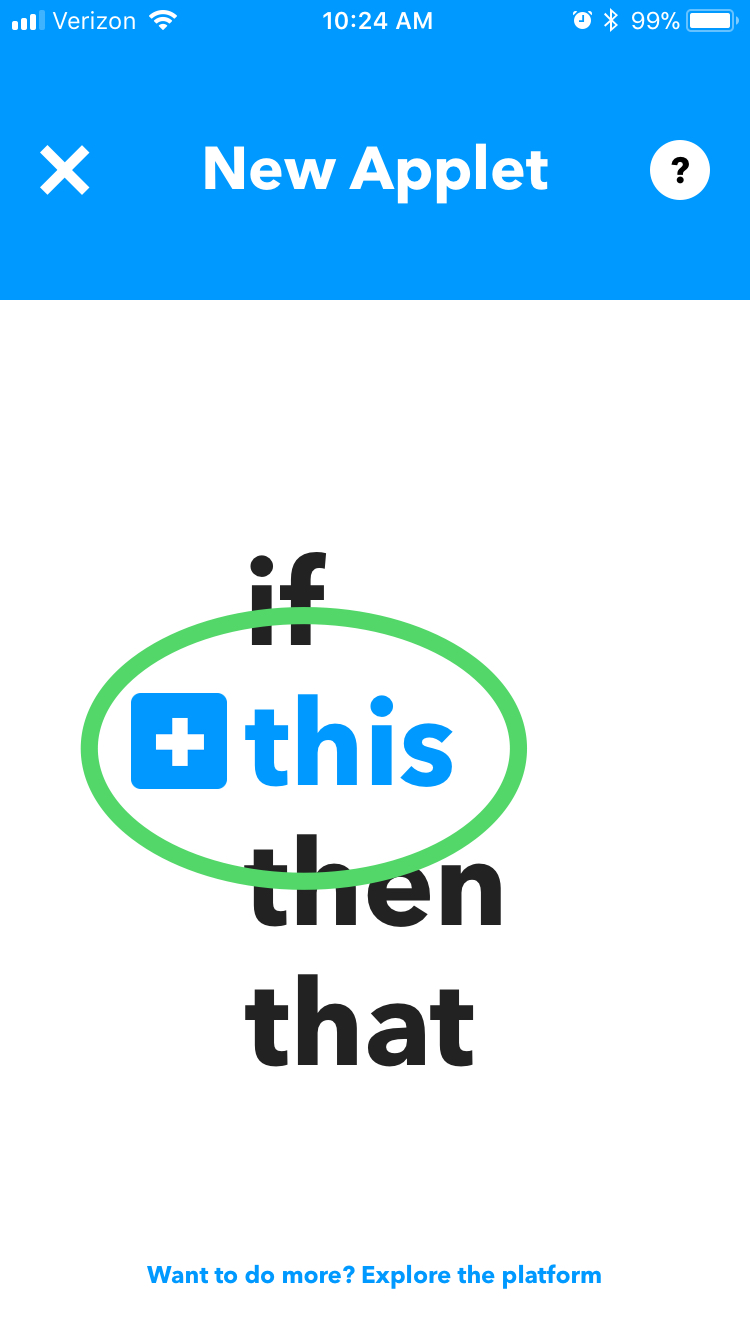
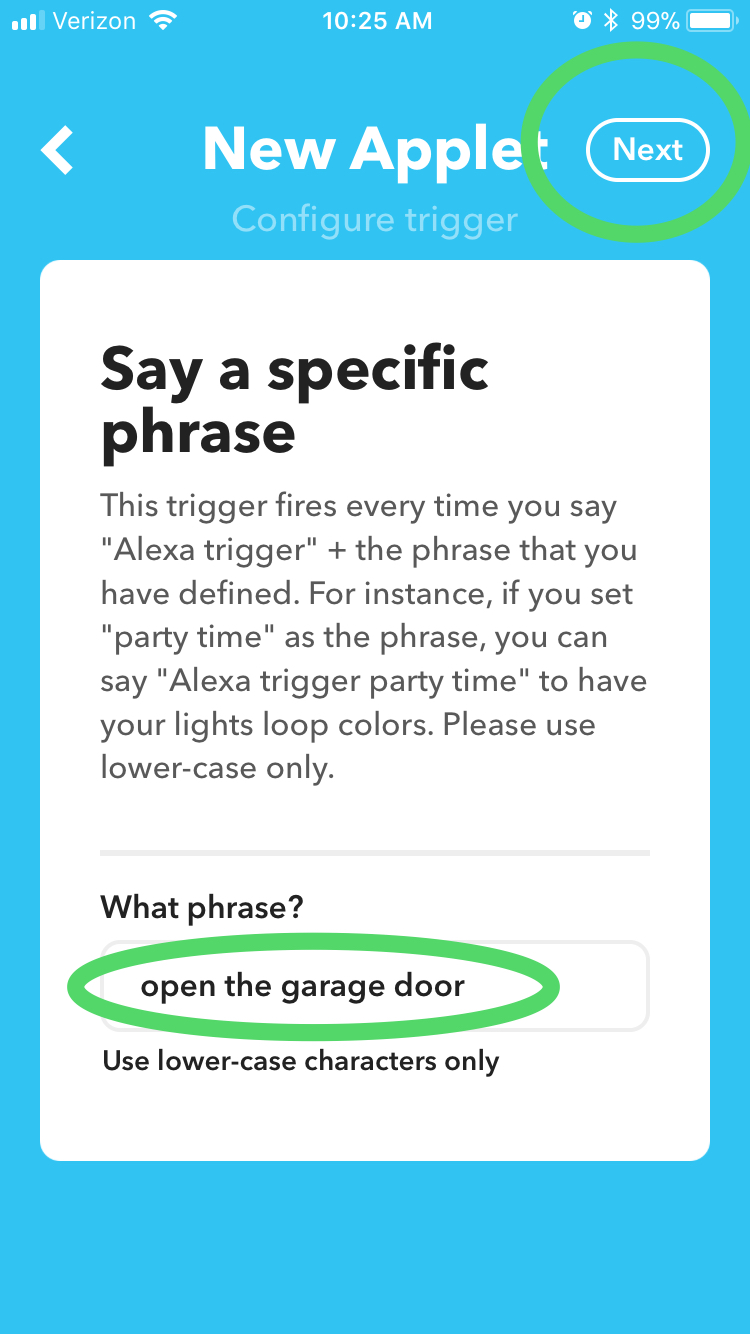
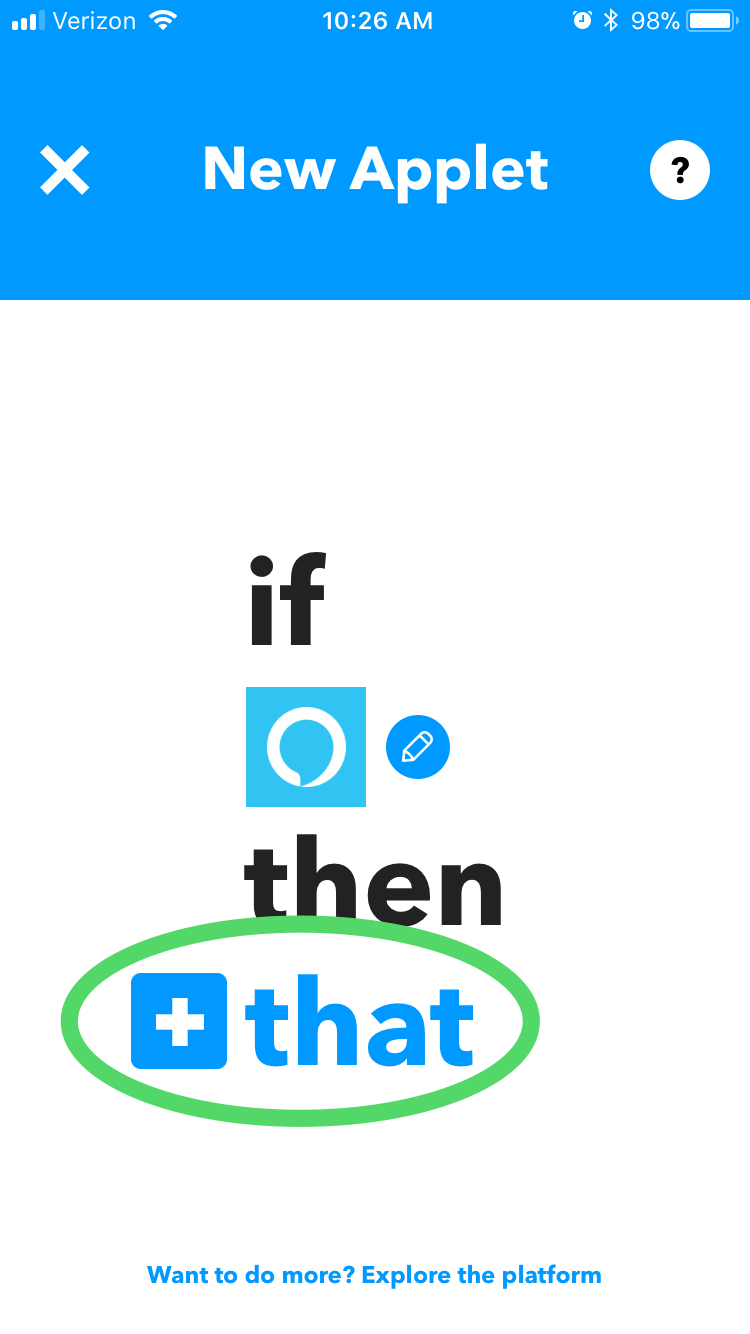
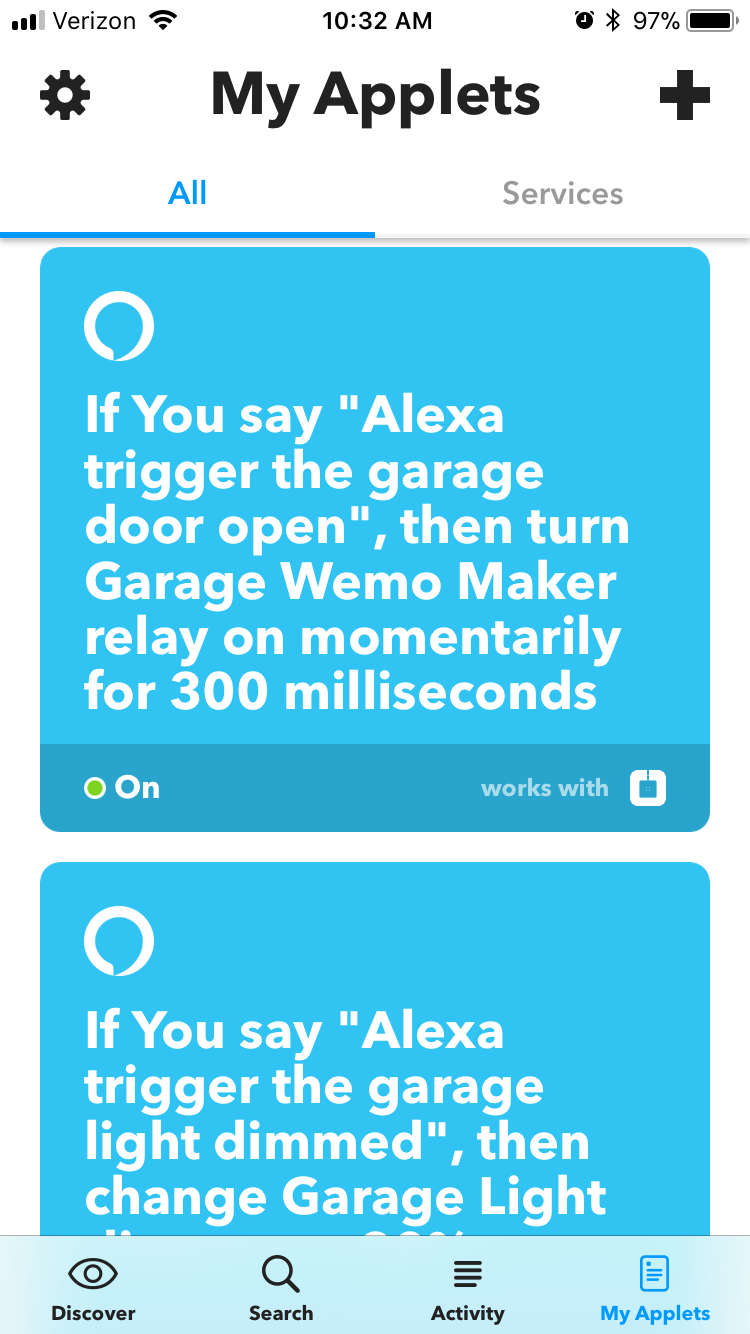
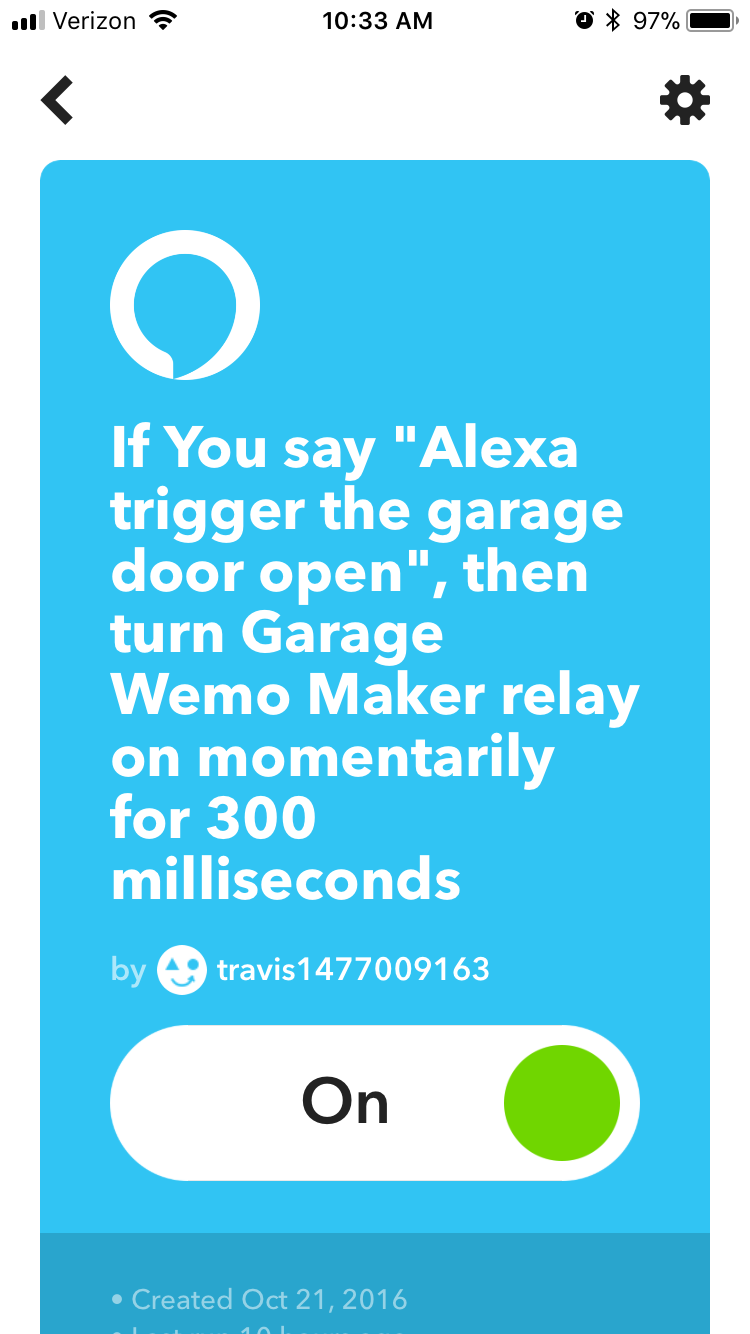
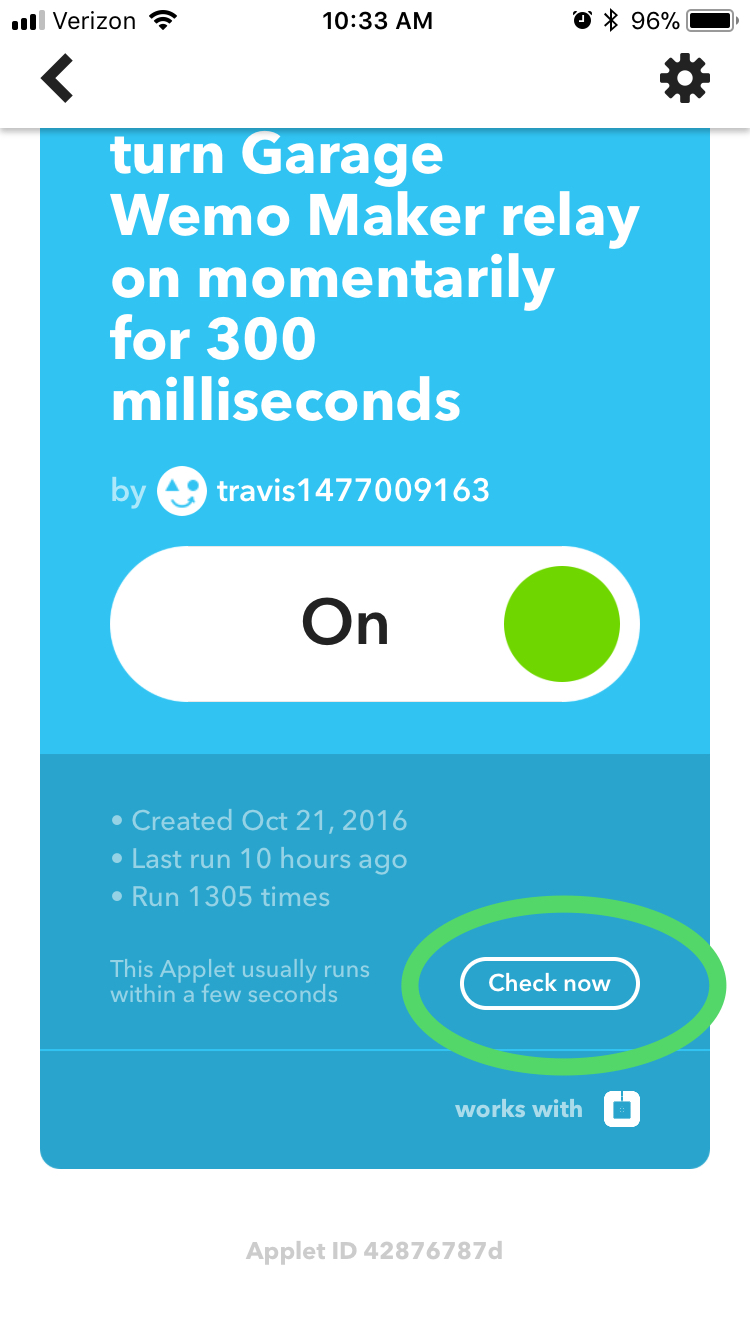
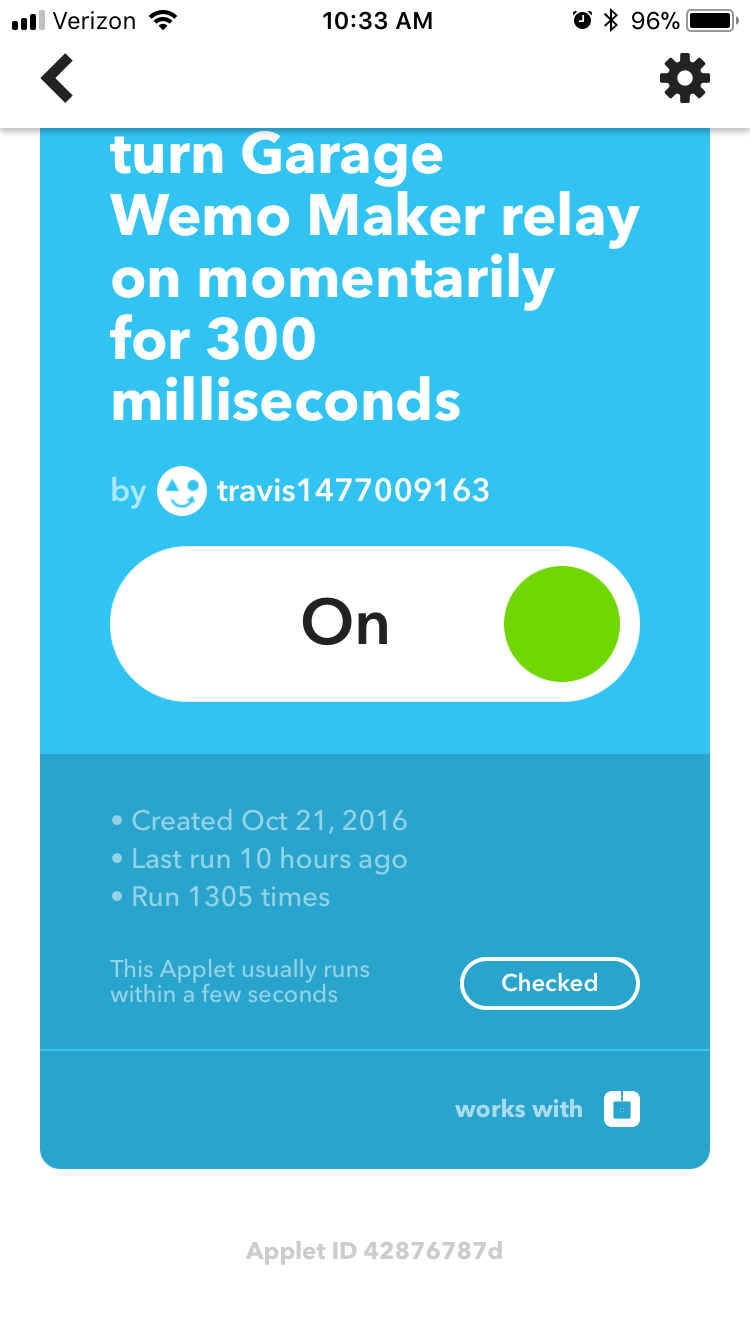
To integrate this setup with Amazon’s Echo, I first purchased the Amazon Echo and followed the instructions provided to set it up, then installed the Amazon Alexa App on my iPhone (Android and iOS supported). I then installed the app If That Then This (IFTTT) and created an account. The Following photos show how I configured the apps so I can now say “Alexa, trigger the garage door open” and “Alexa, trigger the garage door close.”


Syreeta